
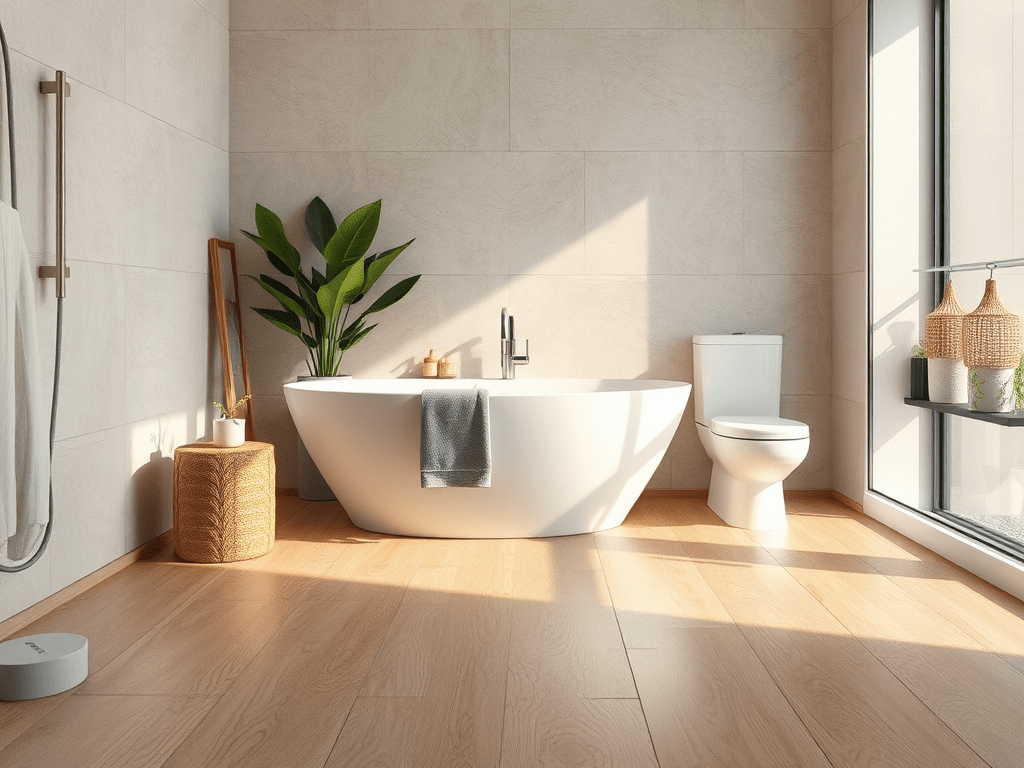
Bathrooms are high-moisture, high-traffic zones, so the flooring you choose really matters. The right material can:
- Prevent water damage
- Resist mold and mildew
- Be comfortable underfoot
- Elevate the style of a small space
But doing a full flooring makeover doesn’t have to mean hiring pros or blowing your budget.
Step 1: Pick the Right Material
Here are some of the best flooring options for a bathroom remodel — especially for DIYers — along with pros, cons, and when they make sense.
Luxury Vinyl (LVP / LVT)
One of the top picks for bathroom use. (GoFlooring)
- Pros: 100% waterproof when you choose the right products. (byretreat.com)
- Feel: Softer and warmer than tile. (Arko Flooring)
- Installation: Click-lock or glue-down makes it very DIY-friendly. (DareKaou Floor)
- Durability: With quality installation, can last a long time. (Some vinyl lasts 10–20 years.) (Better Homes & Gardens)
Peel-and-Stick Vinyl Tiles
- Very DIY friendly; especially good for quick upgrades. (DexDecor)
- Seamless, water-resistant designs. (byretreat.com)
- Cost-effective and works over many subfloors.
Sheet Vinyl
- Comes in large rolls, minimizing seams. (ClingTiles –)
- Fewer joints = fewer places for water to seep in.
- Comfortable underfoot and relatively inexpensive.
Ceramic or Porcelain Tile
- Extremely water-resistant. (Coohom)
- Very durable, but requires more skill for tile layout, grout, sealing, etc. (Coohom)
- Grout lines must be sealed to prevent moisture intrusion. (America\’s Dream HomeWorks)
Other Options (if you’re feeling adventurous)
- Cork — eco-friendly and comfortable, but needs resealing. (Dynamic Home Renovations in Shirley MA)
- Engineered wood — can work, but less common and needs to be specifically rated for moisture. (Coohom)
Step 2: Prep & Waterproofing — Don’t Skip This
Good prep is everything. Here’s a step-by-step for setting up your floor so it lasts.
- Remove Old Flooring (If Needed):
If you’re ripping out old tile or vinyl, get down to a clean, stable subfloor. - Level & Clean the Subfloor:
Make sure it’s even — bumps or dips will cause problems later. - Seal Seams & Joints:
Use mesh tape at seams, especially where walls meet floors. (America\’s Dream HomeWorks) - Apply a Liquid Waterproofing Membrane:
Products like RedGard or other bathroom-rated membranes help protect your subfloor. (America\’s Dream HomeWorks) - Edge Details:
Once the flooring is in, caulk all the edges (floor-to-wall, around tub, etc.) with 100% silicone so water can’t sneak underneath. (America\’s Dream HomeWorks) - Grout if Using Tile:
After tile is down, seal the grout so it doesn’t absorb water. Re-seal annually. (America\’s Dream HomeWorks)
Step 3: Install the Flooring
How you install depends on your material:
- Click-Lock LVP / LVT: These planks or tiles snap together. Great for DIY because you don’t need to mess with messy adhesives.
- Glue-Down Vinyl: Needs a strong, even subfloor and adhesive, but gives a very solid, permanent feel.
- Peel-and-Stick: Just peel off the backing and press into place! But make sure your floor is totally clean.
- Sheet Vinyl: You’ll need to roll it out, trim to fit, and carefully secure it around edges.
As you finish, replace things like the toilet wax ring (if needed), and caulk around baseboards and plumbing fixtures. (Coohom)
Step 4: Care & Maintenance
- Wipe up standing water quickly — don’t let puddles sit. (Coohom)
- Use mild, non-abrasive cleaners so you don’t damage the flooring. (Coohom)
- Check and re-caulk or re-seal grout lines as needed (especially in tile) to prevent water damage. (America\’s Dream HomeWorks)
Step 5: Stylish Product Picks (DIY-Friendly)
Here are some flooring products you can buy now, with different styles and budgets:
Lifeproof Marble LVP
Durable stone look
$58.13
Lifeproof Navarra Maple Plank
Classic wood plank
$66.12
Pergo Rome Marble LVT
Stone look luxury
$71.80
Shaw Rocklyn Tile Click‑Lock
Textured stone tile
$66.33
Mystic Marble Peel-and-Stick
Easy stick‑down marble
$1.38
Seashore Peel-and-Stick Tile
Budget tile stick
$29.00
Moroccan Tile Sheet Vinyl
Patterned vintage
$96.23
White Wood‑Effect Sheet Vinyl
Bright wood look
$137.63
Here are a few highlights and why you might pick them:
- Lifeproof Marble LVP: Realistic marble-look luxury vinyl; click-lock, thick wear layer, very durable, mold/mildew resistance.
- Lifeproof Navarra Maple Plank: Wood-look planks, great for warmth, waterproof core, quiet underfoot.
- Pergo Rome Marble LVT: Stone-style vinyl tiles, very water-resistant, antimicrobial finish, great traction.
- Shaw Rocklyn Tile Click‑Lock: Tile-look vinyl that clicks into place, no grout mess, built-in padding for quieter feel.
- Mystic Marble Peel-and-Stick: One of the easiest installs — just peel and stick. Good for quick makeovers.
- Seashore Peel-and-Stick Tile: Light, airy tone; budget-friendly; great for small bathrooms.
- Moroccan Tile Sheet Vinyl: Bold Moroccan pattern; feels soft; seamless when rolled, which minimizes water penetration points.
- White Wood‑Effect Sheet Vinyl: Clean, bright, wood vibe without worrying about wood warping in moisture.
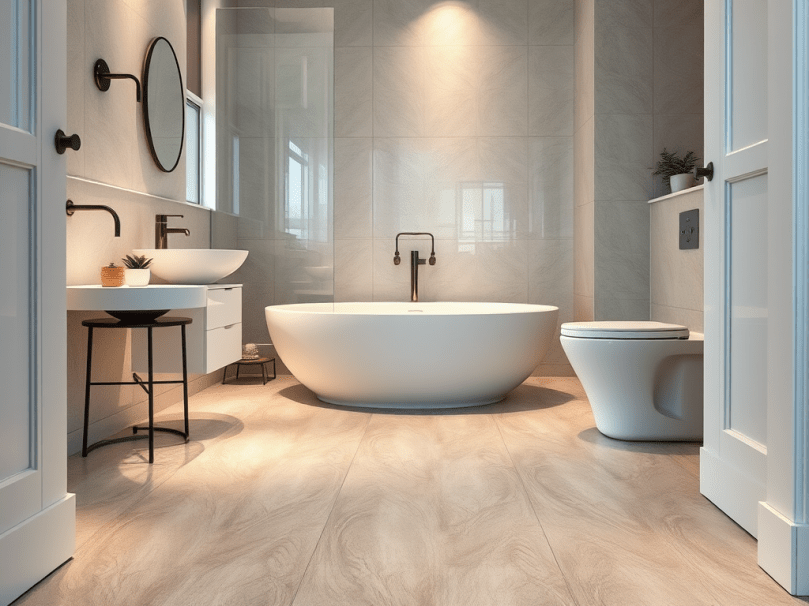
Design Tips for Your New Bathroom Floor
- Go Large to Make the Space Feel Bigger: Bigger planks or large-format tiles help visually stretch a small bathroom.
- Stick to a Cohesive Palette: If your walls or vanity are patterned or bold, pick a neutral, complementary floor.
- Add Rugs or Mats: Use non-slip bath mats where needed — especially near tubs.
- Mix Textures: Combine glossy tile-look flooring with matte wall finishes or painted walls for contrast.
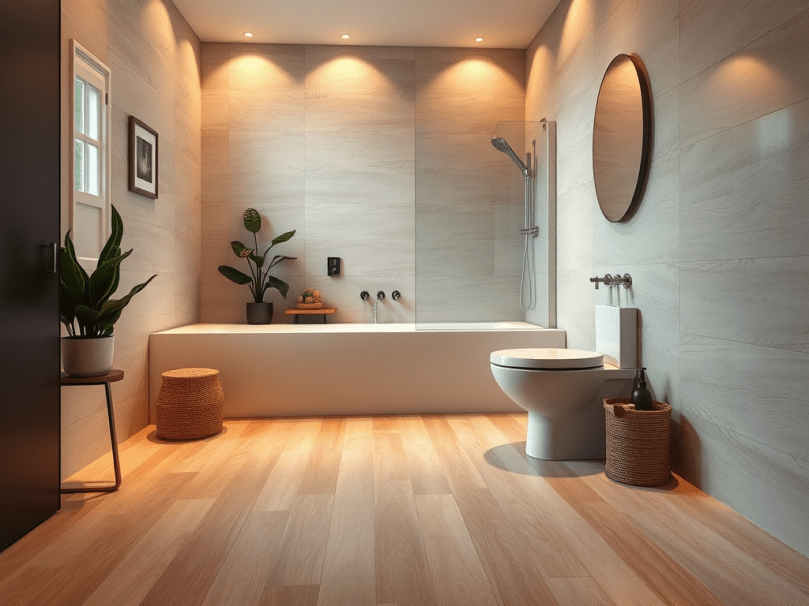
Final Thoughts
Upgrading your bathroom floor yourself can be one of the most cost-effective and transformative DIY projects. With the right waterproof materials, solid prep, and a few smart design choices, you can get a floor that looks professional — without paying for pro labor.
If you’re ready to start: measure your bathroom, pick a water-safe product, and plan for at least one full weekend (or more) depending on the complexity. And don’t skip the waterproofing steps — they’ll pay off in longevity.

Leave a comment