
Painting is one of the easiest and most affordable ways to completely transform a space. Whether you’re refreshing a tired room or giving your home a whole new vibe, painting is a DIY project that anyone can master with a little guidance and patience. If you’re a beginner, don’t be intimidated. Painting is less about perfection and more about preparation and confidence.

Here’s your step-by-step DIY painter’s guide to help you paint a room the right way.
Step 1: Choose Your Color Wisely
Before you pick up a brush, pick your color. This is one of the most important parts of the process.
- Test paint samples on your wall first
- Observe how the color looks in morning, afternoon, and evening light
- Consider the room’s purpose:
- Soft neutrals for calm spaces
- Bold colors for accent walls
- Light shades to make small rooms feel bigger
Color sets the tone of your space, so take your time here.
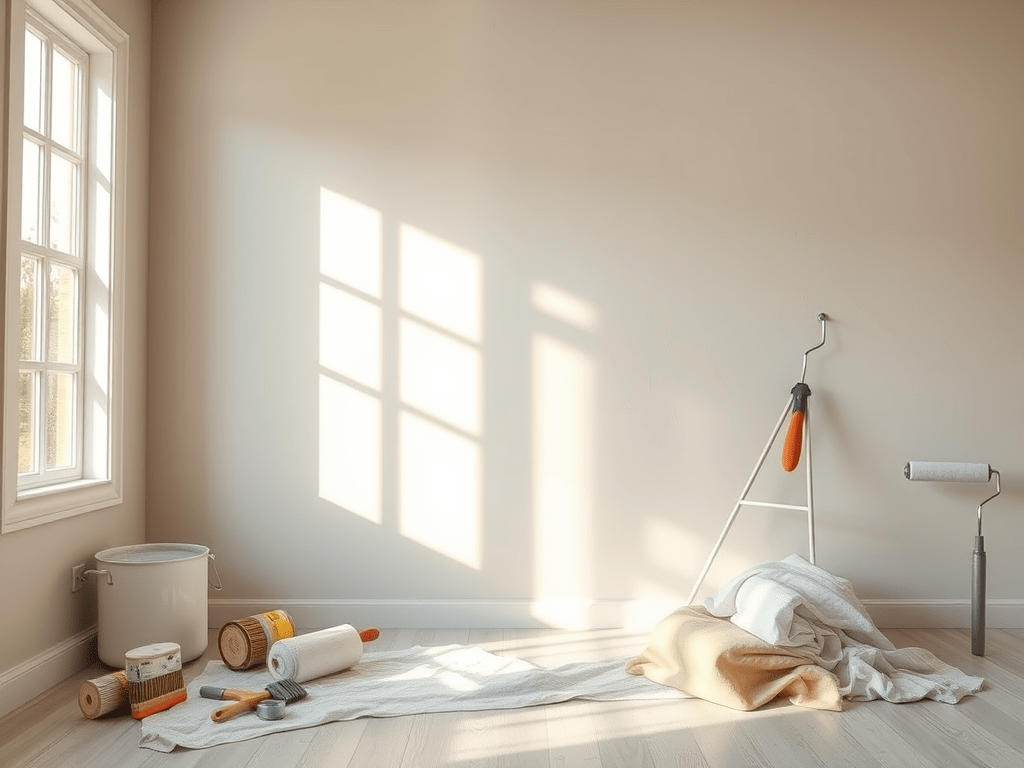
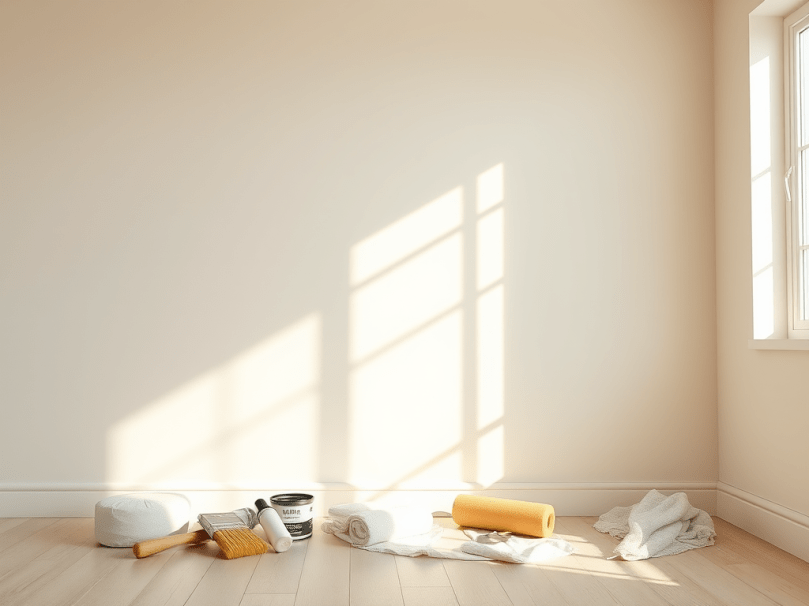
Step 2: Gather Your Supplies
Having everything ready makes painting smoother and less stressful.
You’ll need:
- Paint (plus a little extra for touch-ups)
- Paint rollers and roller covers
- Angled brush for edges and corners
- Drop cloths or plastic sheets
- Painter’s tape
- Paint tray
- Sandpaper
- Spackle for small holes
- Damp cloth or sponge
Step 3: Prep the Room Like a Pro
Prep work is what separates a messy paint job from a polished one.
- Move furniture out or to the center of the room
- Cover floors and furniture
- Clean walls to remove dust and grease
- Fill holes or cracks with spackle
- Lightly sand rough areas
- Tape off trim, windows, outlets, and baseboards
Prepping might not be fun, but it makes a huge difference in your final result.
Step 4: Prime When Needed
Primer helps paint stick better and look more even.
You should use primer if:
- You’re painting over dark colors
- The walls are stained
- The surface is new drywall
- You want the new color to look more vibrant
Think of primer as the foundation of your paint job.
Step 5: Start with Cutting In
“Cutting in” means painting the edges before rolling.
- Use an angled brush
- Paint around ceilings, corners, doors, and trim
- Work in small sections
This gives you clean edges and makes rolling easier.
Step 6: Roll the Walls
Now comes the fun part.
- Pour paint into your tray
- Load the roller evenly (not dripping)
- Use a “W” or “M” pattern to apply paint
- Fill in the space without lifting the roller too often
- Keep a wet edge to avoid streaks
Most rooms need two coats for the best finish. Let the first coat dry completely before adding the second.
Step 7: Remove Tape Carefully
Remove painter’s tape while the paint is slightly damp. Pull it slowly at an angle to avoid peeling paint.
Step 8: Touch Ups and Clean Up
After everything dries:
- Touch up any missed spots
- Clean your brushes and rollers immediately
- Put the room back together and admire your work
Beginner Tips for Success
- Start with a small room to build confidence
- Wear clothes you don’t mind getting messy
- Don’t rush—painting is about patience
- Take breaks to avoid fatigue
- Good lighting helps you spot mistakes early
Why Painting Is the Perfect DIY Project
Painting gives you instant gratification. It’s budget-friendly, customizable, and empowering. There’s something deeply satisfying about stepping back and seeing a space you transformed with your own hands.
For beginners, painting isn’t just about changing walls—it’s about building confidence in your DIY skills and realizing you’re capable of creating a home that truly reflects your style.
So grab a brush, turn on your favorite playlist, and start painting. Your walls are waiting for their glow-up.


Leave a comment