
If you’ve ever looked at your bedroom dresser and thought, “I need a new one,” pause for a moment. What if the dresser you already own could be transformed into something even better than new?
Repurposing a bedroom dresser is one of the easiest and most rewarding DIY home decor projects you can take on. It saves money, reduces waste, and allows you to create a piece that truly reflects your personal style. Instead of buying a brand-new dresser, repurposing lets you redesign your space intentionally—without starting from scratch.
As someone who loves all things home decor, I truly believe some of the best pieces in our homes aren’t bought—they’re reimagined.
Why Repurpose a Bedroom Dresser Instead of Buying a New One?
It’s Budget-Friendly
Buying a new bedroom dresser can cost anywhere from $500 to over $1,200. Repurposing a dresser you already own—or one you find secondhand—can often be done for under $150. Paint, hardware, and supplies are far more affordable than replacing furniture entirely.
Older Dressers Are Built to Last
Many older dressers are made from solid wood, not particle board. With proper care, they can last decades longer than most modern furniture.
It’s Sustainable and Eco-Friendly
Repurposing furniture keeps usable items out of landfills and supports a more sustainable approach to home decorating.
You Get a One-of-a-Kind Piece
When you repurpose a dresser, no one else will have the same finish, color, or details. It becomes a custom piece designed for your space.
How to Repurpose Your Bedroom Dresser
Step 1: Decide How You Want to Use It
Before you begin, decide what role your dresser will play:
- Bedroom storage
- TV stand
- Entryway console
- Vanity
- Linen or closet storage
Knowing its purpose helps guide your design choices.
Step 2: Clean and Prep the Dresser
Proper preparation is key to a successful DIY dresser makeover.
- Remove all drawer pulls and hardware
- Clean thoroughly with mild soap or vinegar and water
- Lightly sand to remove gloss and rough areas
- Wipe away dust with a damp cloth
You don’t need to sand down to bare wood—just enough to help paint or stain adhere.
Step 3: Choose Your DIY Finish
This is where your style comes in.
Popular dresser makeover ideas include:
- Chalk paint for a soft, matte look
- Satin or semi-gloss paint for durability
- Wood stain to highlight natural grain
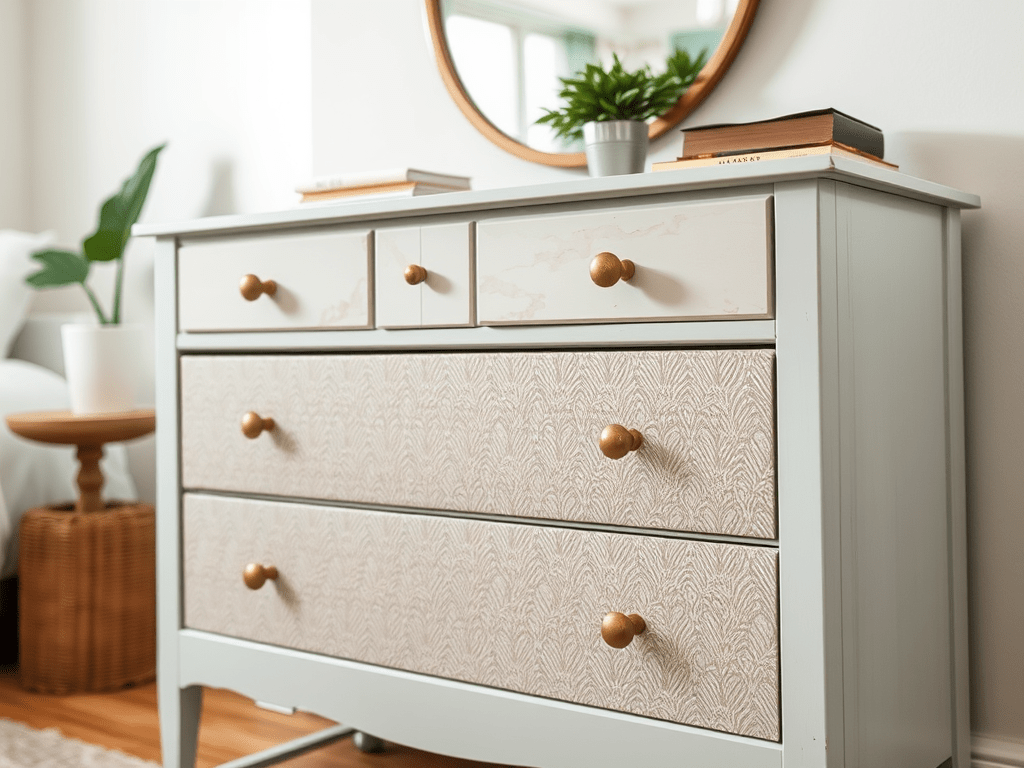
- Peel-and-stick wallpaper for drawer fronts
- Cane webbing or wood slats for texture
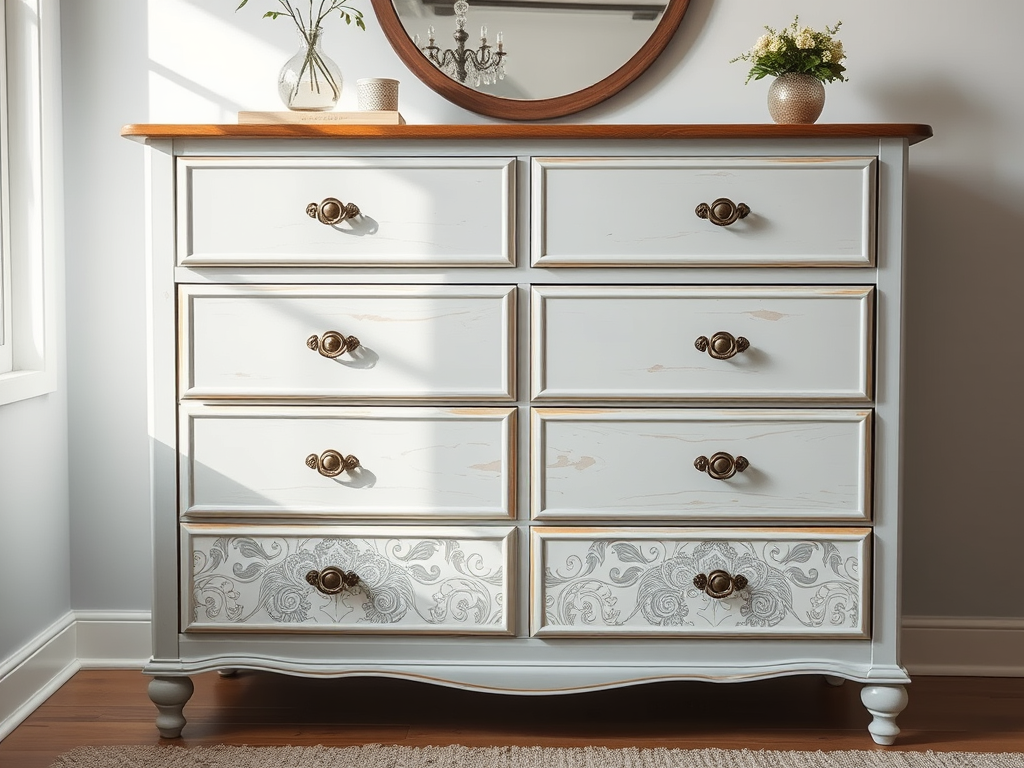
- Two-tone designs for a modern update
Choose colors that complement your bedroom decor and lighting.
Step 4: Paint, Stain, or Upgrade
- Apply thin, even coats
- Allow each coat to dry completely
- Seal with wax or polyurethane if needed
Patience here makes all the difference in the final result.
Step 5: Upgrade the Hardware
New hardware can completely change the look of your dresser.
Trending hardware options:
- Brass or gold pulls for warmth
- Matte black for a modern feel
- Ceramic or glass knobs for vintage charm
- Leather pulls for texture and contrast
This small detail often creates the biggest transformation.
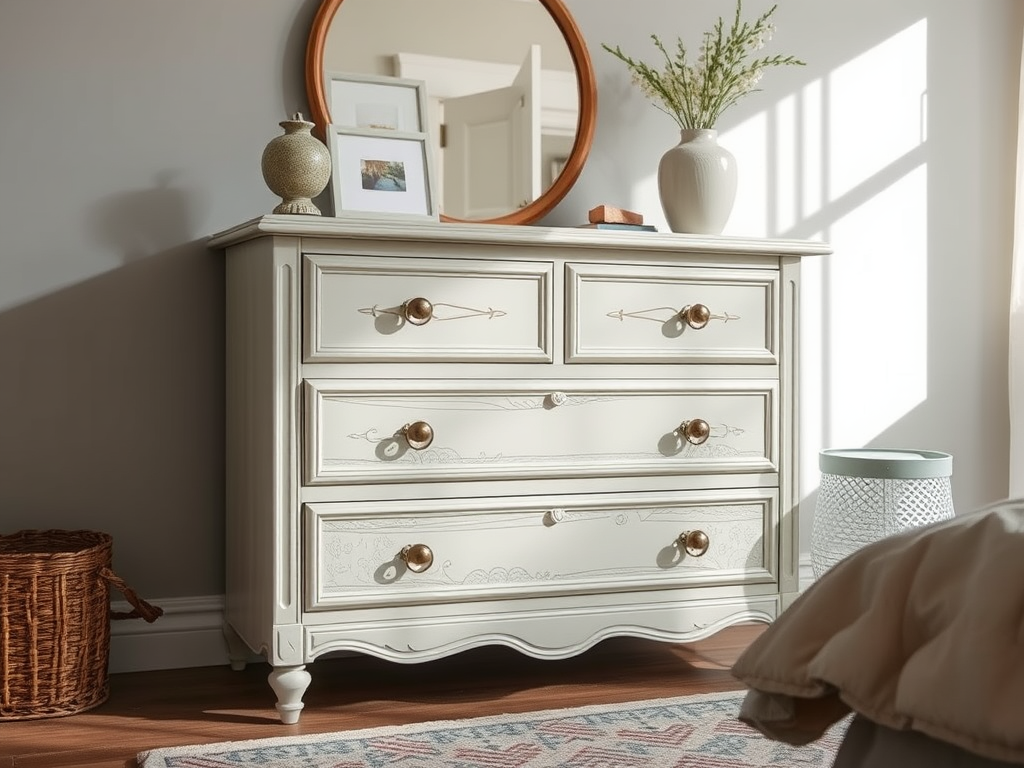
Step 6: Style It Like a Brand-New Piece
Once finished, style your repurposed dresser intentionally:
- Add a lamp or table light
- Lean a mirror or artwork above it
- Use trays, books, or greenery for balance
Styling makes the dresser feel finished and thoughtfully designed.
Where to Find Materials for Your DIY Dresser Project
You don’t need specialty tools or expensive supplies.
Best places to shop:
- Hardware stores for paint and sealant
- Thrift stores for dressers and hardware
- Facebook Marketplace or OfferUp
- Craft stores for brushes and decorative paper
- Clearance sections (hidden gems live here)
Many projects can be completed using items you already have at home.
A Personal DIY Story That Inspires
A woman named Lena had a dresser she nearly let go of more than once.
It moved with her through apartments, life changes, and seasons where her style kept evolving. Every scratch told a story—but eventually, it started feeling outdated.
One weekend, she decided to repurpose it instead of replacing it.
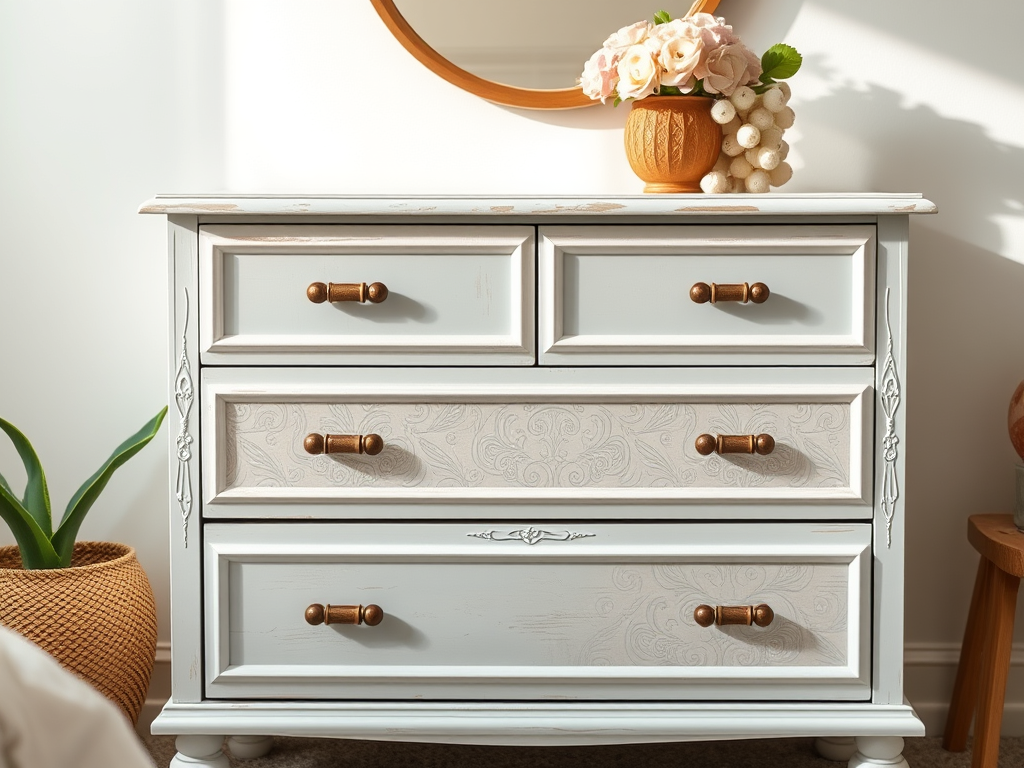
She painted it a warm cream, swapped the hardware for vintage brass pulls, and lined the drawers with floral paper she’d been saving for years. She worked slowly, enjoying the process instead of rushing the result.
When she finished, the dresser didn’t just look better—it felt more hers than ever before.
That dresser didn’t just get a makeover.
It became a reminder that sometimes, the things we love most just need a second chance.
Final Thoughts: Why Repurposing Matters
Repurposing your bedroom dresser is more than a DIY project—it’s a creative decision that brings intention into your home. Instead of buying new, you’re choosing to see potential. Instead of replacing, you’re redesigning.
Your home doesn’t need more furniture.
It needs more you in it.


Leave a comment