
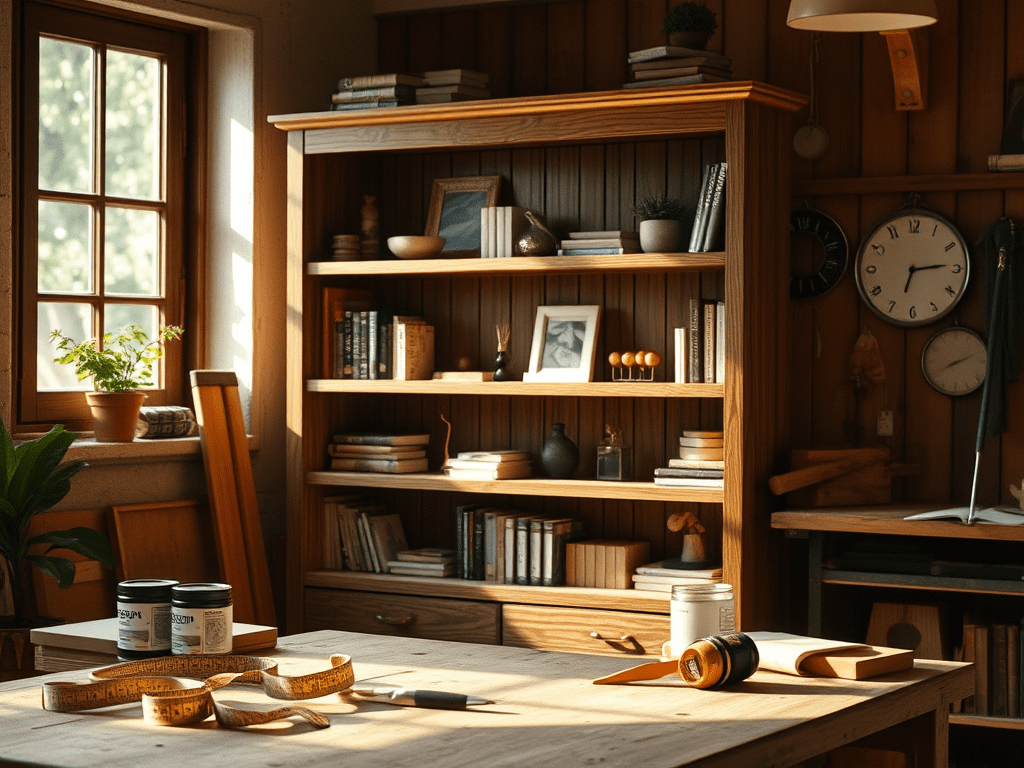
Creating your own DIY bookshelf is not only a rewarding project but also a practical way to add functional decor to your home. Whether you want to save money, add a personal touch to your decor, or simply love the charm of custom-built furniture, DIY bookshelves are a great project for any home enthusiast. In this blog post, we’ll guide you through the steps of making your own bookshelf and provide some product recommendations to help you get started.
Step 1: Plan Your Design
Before you start, it’s important to decide on the type of bookshelf you want. Here are some popular options:
- Floating Shelves: Minimalist and ideal for saving space.
- Ladder Bookshelves: Stylish, with an open frame that leans against the wall.
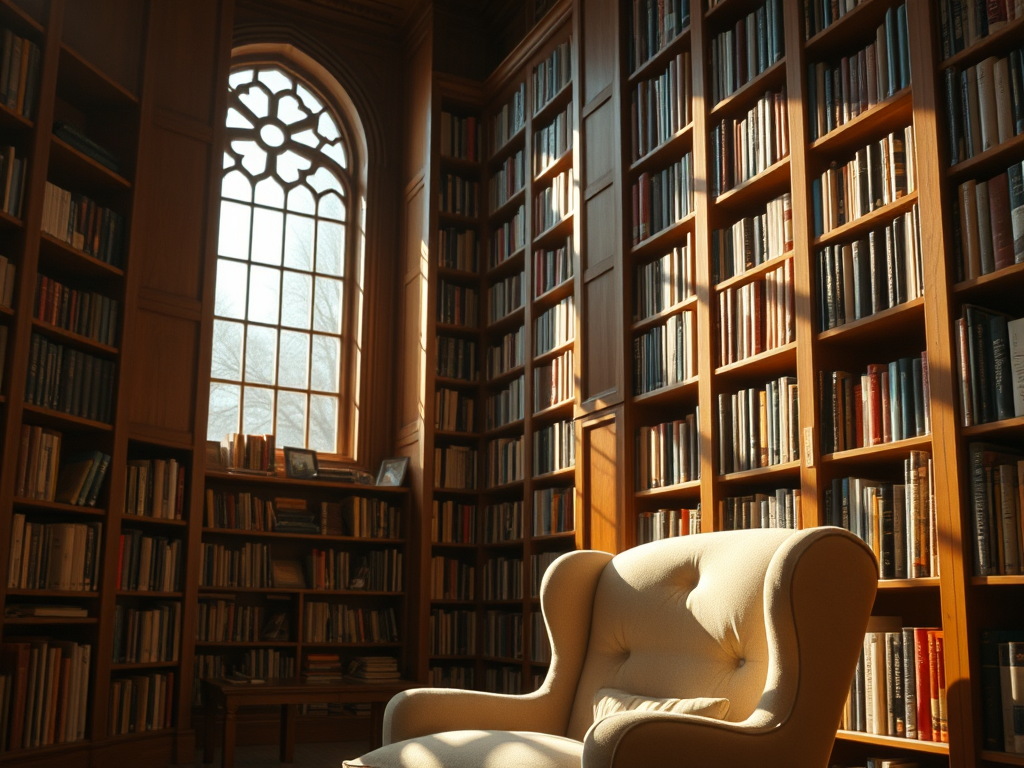
- Built-In Bookshelves: For a custom fit into a specific space in your home.
- Simple Wall Shelves: Classic and straightforward, perfect for beginners.
Think about the size, style, and placement of your bookshelf, as well as the type of wood or material you’d like to use.
Step 2: Gather Your Materials
Here’s a list of essential materials you’ll need for a basic wall-mounted bookshelf:
- Wood Boards: Choose high-quality wood for durability. Common options include pine, oak, or plywood.
- Sandpaper: To smooth the edges of your boards.
- Wood Screws: Make sure to pick screws that are appropriate for the thickness of your wood.
- Wall Anchors: Use heavy-duty anchors for secure wall mounting, especially if you plan to hold heavy books.
- Wood Stain or Paint: To give your bookshelf the desired finish and protect the wood.
- Brackets (optional): For extra support, particularly for floating shelves.
Step 3: Tools You’ll Need
- Measuring Tape: To measure the wood and placement on the wall.
- Electric Drill: For making holes and securing screws.
- Level: To ensure your shelves are straight.
- Screwdriver: For tightening screws (a drill bit attachment can make this easier).
- Paintbrush or Rags: For applying stain or paint.
Step 4: Cut and Prepare the Wood
If you don’t have a power saw at home, many hardware stores will cut wood to size for you. Measure your wall and cut the wood accordingly.
- Sand the Wood: Sand all surfaces and edges to remove splinters and create a smooth surface for staining or painting.
- Stain or Paint the Boards: Apply your chosen wood stain or paint, allowing it to dry completely before assembling.
Step 5: Assemble the Bookshelf
- Mark the Placement: Use a level and measuring tape to mark where you’ll be mounting your shelves on the wall.
- Install the Brackets (Optional): If you’re using brackets, attach them to the wall first, ensuring they are level.
- Mount the Shelves: Drill holes through the wood and into the wall, inserting wall anchors if needed. Secure the shelves with screws, making sure everything is tight and sturdy.
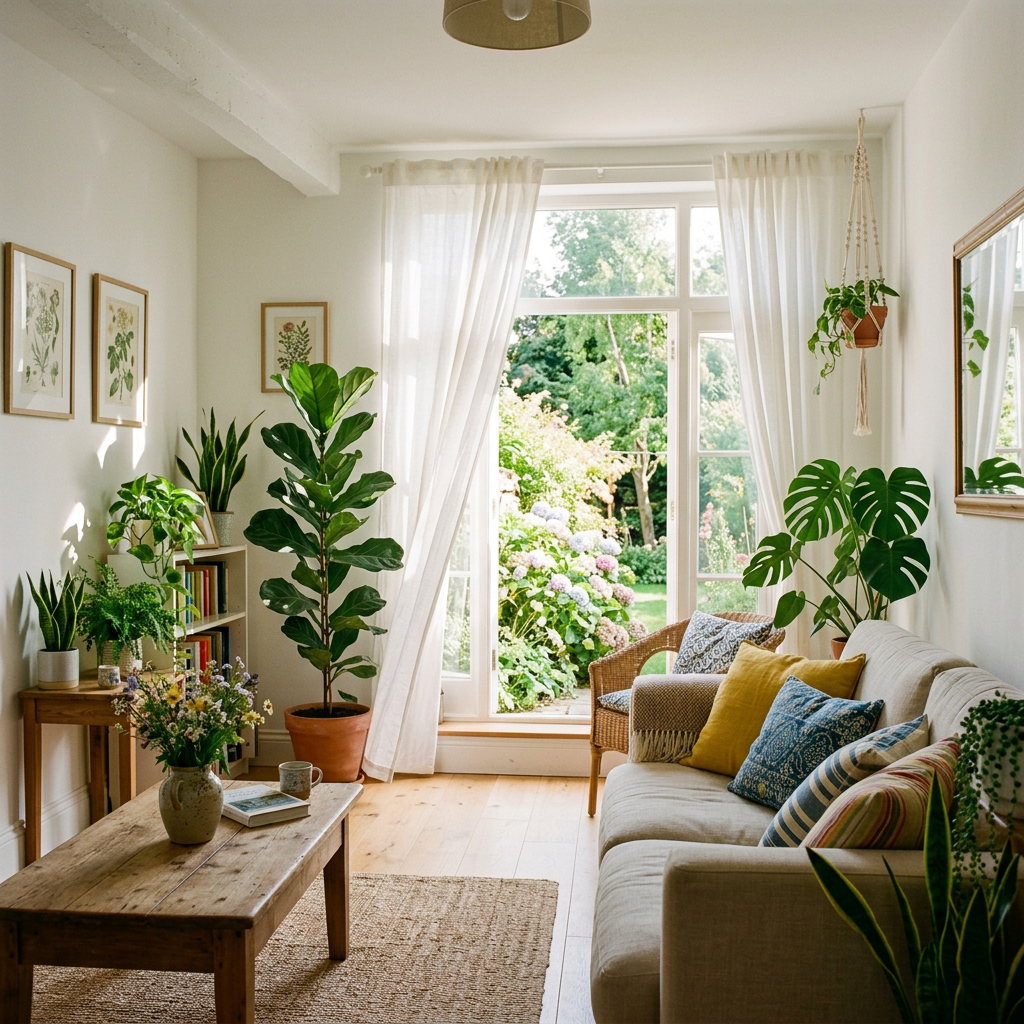
Step 6: Style Your Bookshelf
Once your bookshelf is mounted, it’s time to style it! Here are some quick tips:
- Mix Books and Decor: Add small decorative pieces, like plants or picture frames, to create a balanced look.
- Organize by Color: If you want a more artistic touch, consider arranging books by color.
- Use Baskets: To store small items and keep your bookshelf tidy.
Product Recommendations
- Wood Boards: https://amzn.to/3TVb03p
- Sandpaper: https://amzn.to/4gMm24Z
- Wall Anchors: https://amzn.to/3XIzyO8
- Wood Stain: https://amzn.to/4eyoOJx
- Brackets: https://amzn.to/4gRXXcQ
Tips for Success
- Measure Twice, Cut Once: Always double-check your measurements to avoid mistakes.
- Use Studs: Mount the shelves into wall studs for maximum stability, especially for heavier books.
- Test for Level: Continuously check to make sure everything is level as you work.
Conclusion
DIY bookshelves are a great weekend project that can instantly enhance any room. By following these steps and using quality materials, you’ll have a sturdy and stylish bookshelf that reflects your personal taste. Plus, building your own bookshelf allows you to fully customize it to fit your space and needs.
Have you built your own bookshelf before? Share your experiences or any additional tips you have in the comments below!

Leave a comment