
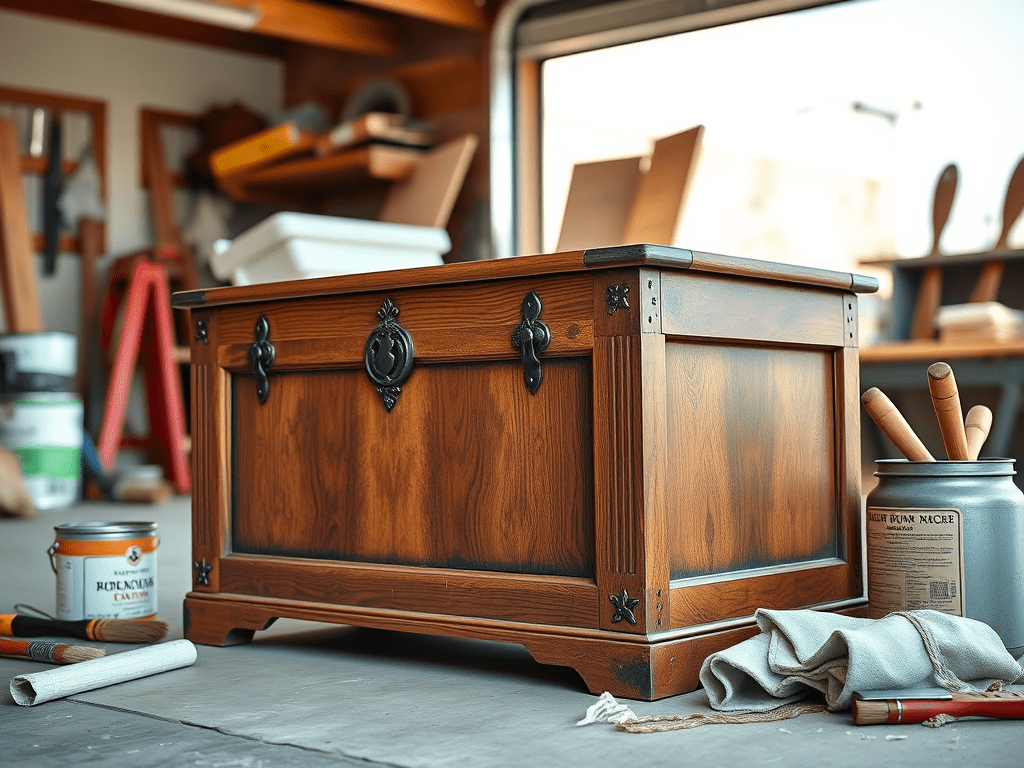
There’s something incredibly satisfying about taking an old, forgotten chest and turning it into a statement piece full of charm and character. Whether you scored a vintage find at a flea market or have a family heirloom collecting dust, giving an old chest a fresh new look is a DIY project worth tackling.
In this guide, I’ll walk you through the step-by-step process of stripping and refurbishing a wooden chest—from prep to polish. With a little time and elbow grease, you can transform something old into something stunning.
Supplies You’ll Need:
- Drop cloth or old sheet (to protect your workspace)
- Screwdriver (for removing hardware)
- Paint stripper or sanding tools (depending on method)
- Scraper or putty knife
- Steel wool or sanding blocks (various grits)
- Wood filler (if needed)
- Wood stain or paint
- Polyurethane or finishing wax
- Clean rags or lint-free cloths
- Rubber gloves & safety goggles
- Respirator mask (especially for stripping chemicals)
- Painter’s tape (optional)
Step-by-Step Refurbishing Guide:
Step 1: Clean and Prep the Chest
Start by wiping down the chest with a damp cloth to remove dust, cobwebs, or grime. If it’s particularly dirty, a solution of warm water and mild dish soap can help. Let it dry completely.
Pro Tip: Place the chest on a drop cloth in a well-ventilated area (preferably outdoors or in a garage with the door open).
Step 2: Remove Hardware
Use a screwdriver to take off all hinges, handles, and any decorative hardware. Save them if you plan to reuse them, or replace them later for a modern update.
Step 3: Strip the Old Finish
If the chest has layers of paint or thick varnish, use a chemical stripper to remove it. Apply the stripper with a brush, let it sit according to the instructions, and then gently scrape off the finish with a putty knife.
Alternatively, if you prefer a chemical-free method, sand the chest down using coarse grit sandpaper (80-grit), followed by a medium (120-grit), and then a fine (220-grit) for a smooth finish.
Safety Reminder: Wear gloves, goggles, and a mask while using chemicals or sanding.
Step 4: Repair Any Damage
Inspect the chest for dents, scratches, or cracks. Use wood filler to patch up imperfections and let it dry. Once dry, sand the area lightly to blend it with the surface.
Step 5: Sand and Smooth
Give the entire chest one final sanding with fine-grit sandpaper (220-grit) to ensure a smooth surface ready for stain or paint. Wipe away any dust with a tack cloth or damp rag.
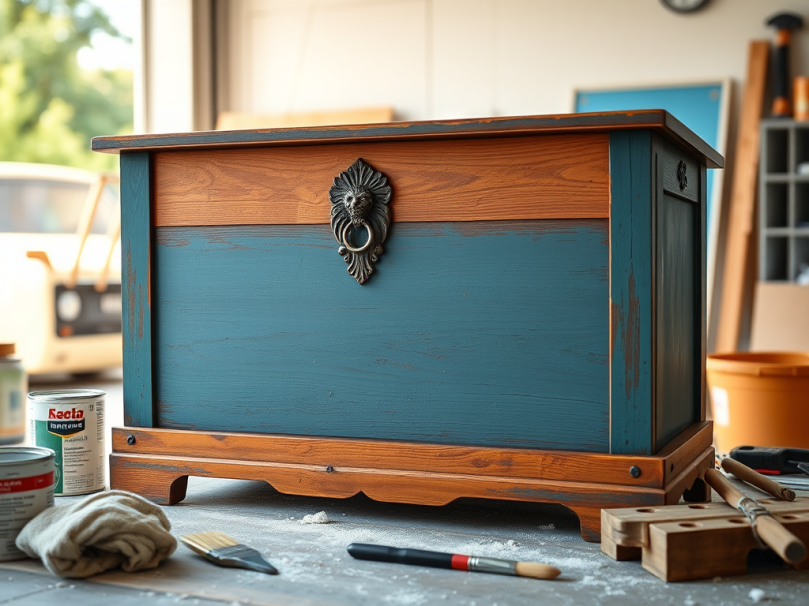
Step 6: Stain or Paint
Choose your finish! For a natural wood look, apply a wood stain using a rag, wiping with the grain. Let it penetrate for a few minutes, then wipe off excess. Apply multiple coats if needed.
If painting, use a high-quality furniture paint and apply with a brush or roller in thin, even coats. Let each coat dry before applying the next.
Step 7: Protect Your Finish
Once the stain or paint is dry, seal your work. Use a clear polyurethane for a durable, protective layer (available in matte, satin, or gloss), or use furniture wax for a softer, vintage look.
Apply evenly with a brush or cloth and let it cure completely according to the product instructions.
Step 8: Reattach Hardware
Once the finish has dried and cured, reinstall the original or new hardware. This step really ties everything together and gives your chest its finished personality.
Bonus Tips:
- Add a soft fabric lining inside for a polished interior.
- Stencil a design or paint a pattern for extra flair.
- Consider replacing the hardware with modern or antique knobs for contrast.

Final Reveal
Stand back and admire your work—you’ve just transformed an old chest into a beautiful, functional piece full of new life! Whether it becomes a coffee table, blanket storage, or a decorative accent in your entryway, your refurbished chest is now a conversation starter with a story.


Leave a comment