
Let’s be honest—kitchen appliances are a love language in many homes. From that coffee maker you can’t live without to the air fryer that changed your weeknight dinners forever… appliances make life easier, faster, and honestly, a little more fun.
But here’s the real question…
Are you the kind of person who wants an appliance for everything?
Or… has your kitchen quietly turned into an appliance showroom without you realizing it?
If you’ve ever opened a cabinet and had a blender lid fall on your head… this post is for you.
Let’s talk about why we love appliances so much, and more importantly, how to store them in a way that keeps your kitchen functional, stylish, and stress-free.
Why We Love Kitchen Appliances So Much
Kitchen appliances solve problems—and we love convenience.
They:
- Save time (hello, air fryer dinners in 15 minutes)
- Reduce effort (stand mixers = no arm workout required)
- Help us try new recipes and lifestyles
- Make us feel more “put together” in our homes
And let’s not ignore this…
They’re aesthetic now.
Modern appliances are sleek, neutral, matte, stainless, or even beautifully retro. They’ve become part of our decor—not just tools.
But… When Appliances Take Over Your Kitchen
It usually starts small.
A toaster.
Then a blender.
Then an air fryer.
Then a slow cooker…
Then somehow you own three coffee-making devices “just in case.”
Suddenly:
- Your countertops feel crowded
- Cabinets are overflowing
- You avoid cooking because it feels chaotic
And your peaceful kitchen? Gone.
But don’t worry—we’re about to fix that.
Step 1: Decide What Actually Deserves Space
Before organizing, you need clarity.
Ask yourself:
- Do I use this weekly? → Keep it accessible
- Do I use this occasionally? → Store it away
- Have I used this in the last 6–12 months? → Time to reconsider
Discovering Life Tip:
You don’t need an appliance for every single task. Multifunction appliances (like combo air fryer ovens or blender/food processors) can replace multiple items.
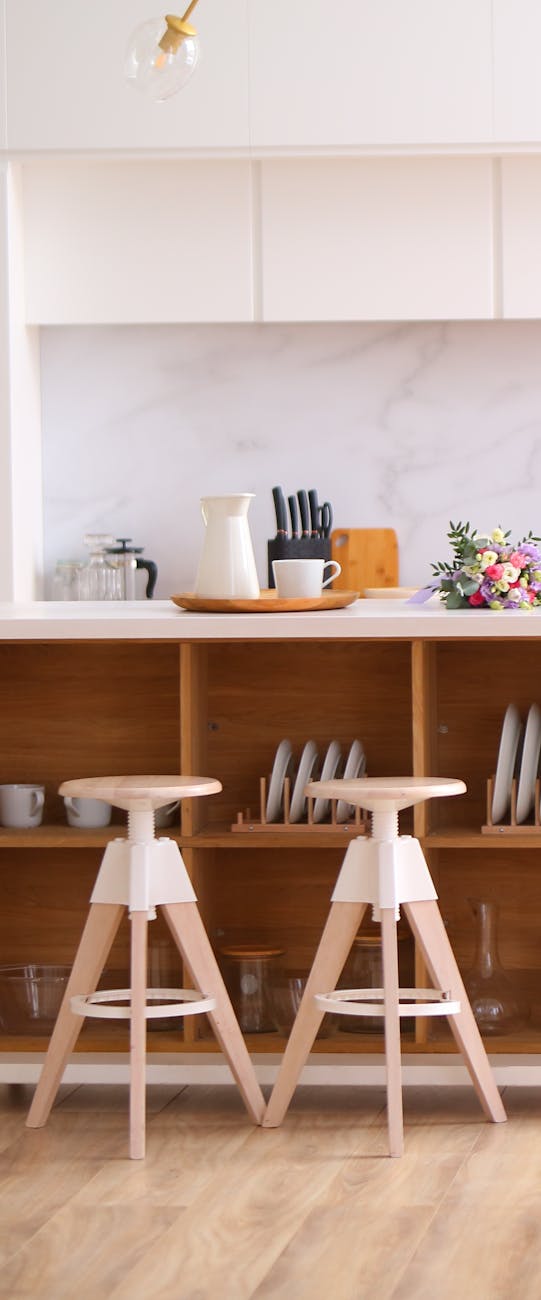
Step 2: Create Appliance Zones in Your Kitchen
Instead of random placement, think intentional zones.
Coffee Station
Keep:
- Coffee maker / espresso machine
- Mugs
- Pods, beans, sugar
This keeps everything in one place and prevents clutter from spreading.
Cooking Zone
Store near your stove:
- Air fryer
- Slow cooker
- Rice cooker
These are your frequent-use appliances.
🥤 Prep Zone
Near your prep space:
- Blender
- Food processor
- Hand mixer
This makes cooking smoother and faster.
Step 3: Smart Storage Solutions That Actually Work
Let’s get into the good stuff—how to store everything without losing your mind.
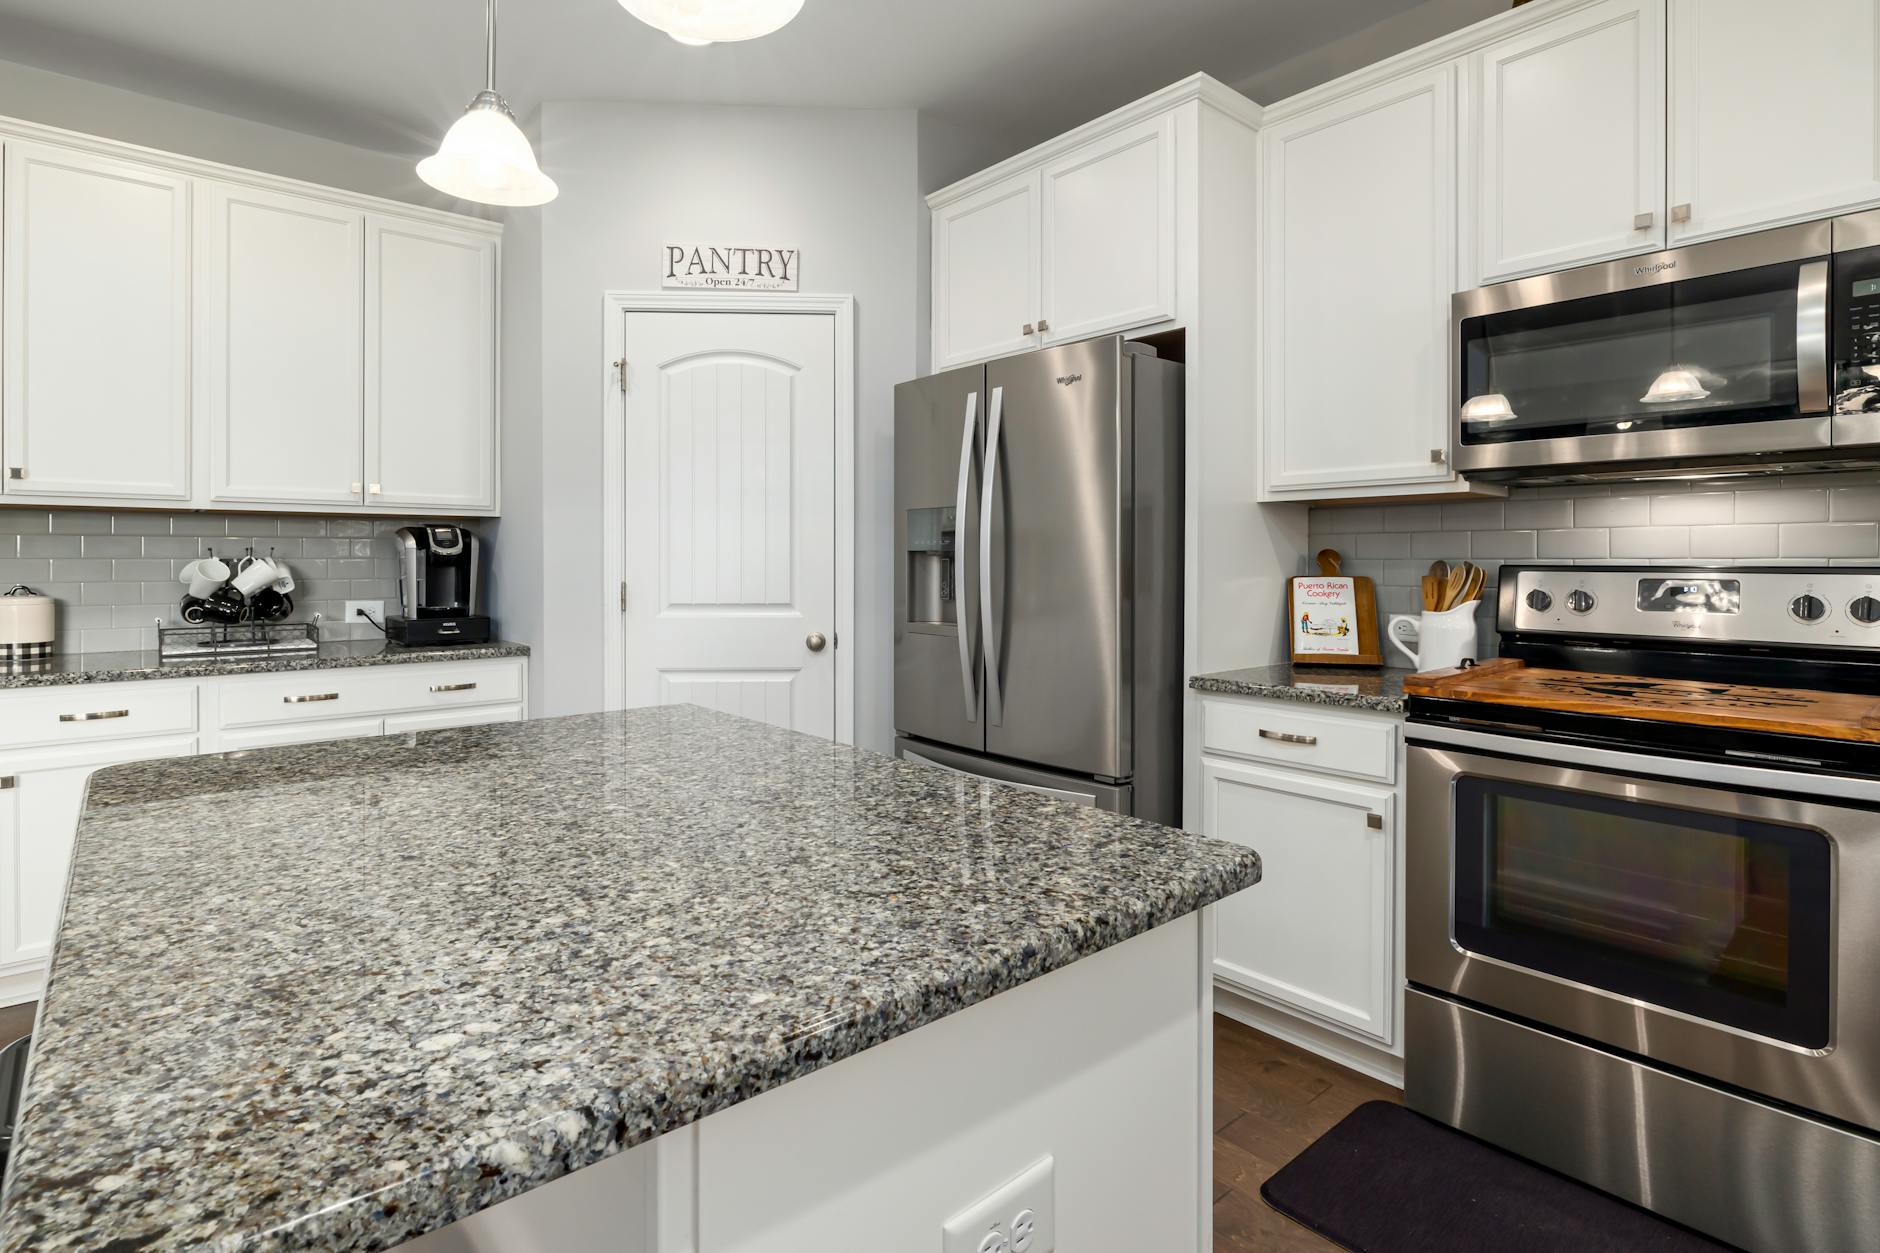
1. Use Deep Cabinets (But Organize Them Properly)
Deep cabinets are great… until they become a black hole.
Fix it with:
- Pull-out shelves
- Stackable risers
- Labeled bins
This keeps appliances visible and easy to grab.
2. Dedicate One “Appliance Cabinet”
Yes—one cabinet just for appliances.
Store:
- Less frequently used items
- Bulky appliances
Pro Tip: Keep cords wrapped neatly using Velcro ties or cord organizers.
3. Appliance Garage (Game-Changer)
If you’ve never heard of this… you’re about to upgrade your kitchen.
An appliance garage is a cabinet space (often on the counter) where appliances can be hidden behind doors.
Perfect for:
- Toasters
- Coffee makers
- Blenders
You get:
✔ Easy access
✔ Clean countertops
✔ A polished, high-end look
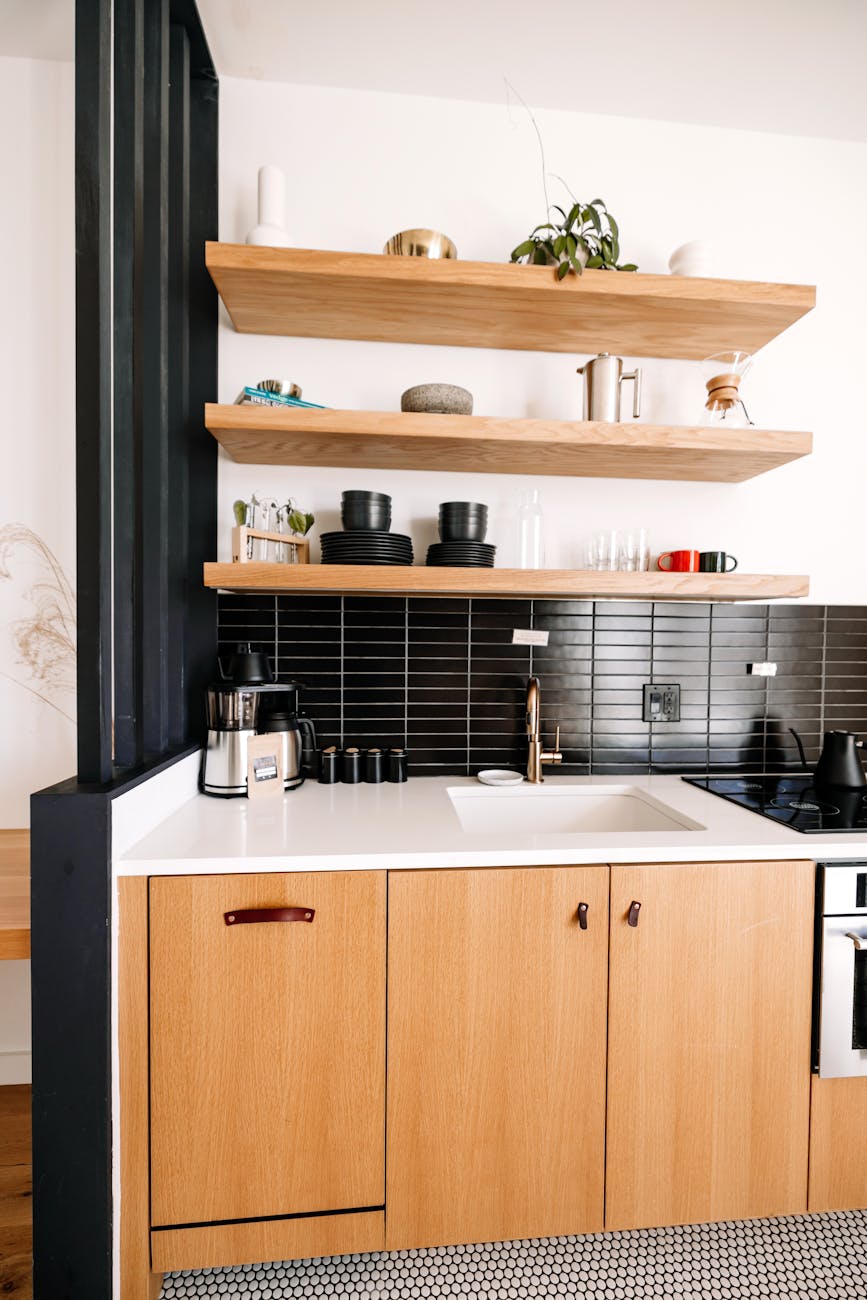
4. Utilize Vertical Space
Don’t forget about upward storage.
Use:
- Wall shelves
- Hanging racks
- Tall pantry cabinets
This is especially helpful for smaller kitchens.
5. Rolling Carts = Hidden Storage Magic
A stylish rolling cart can:
- Hold multiple appliances
- Be moved when needed
- Double as decor
Perfect if you’re short on cabinet space.
6. Store by Frequency, Not Size
This is where most people go wrong.
Instead:
- Daily use → Countertop or easy access
- Weekly use → Lower cabinets
- Rare use → High shelves or storage areas
This keeps your kitchen functional—not frustrating.
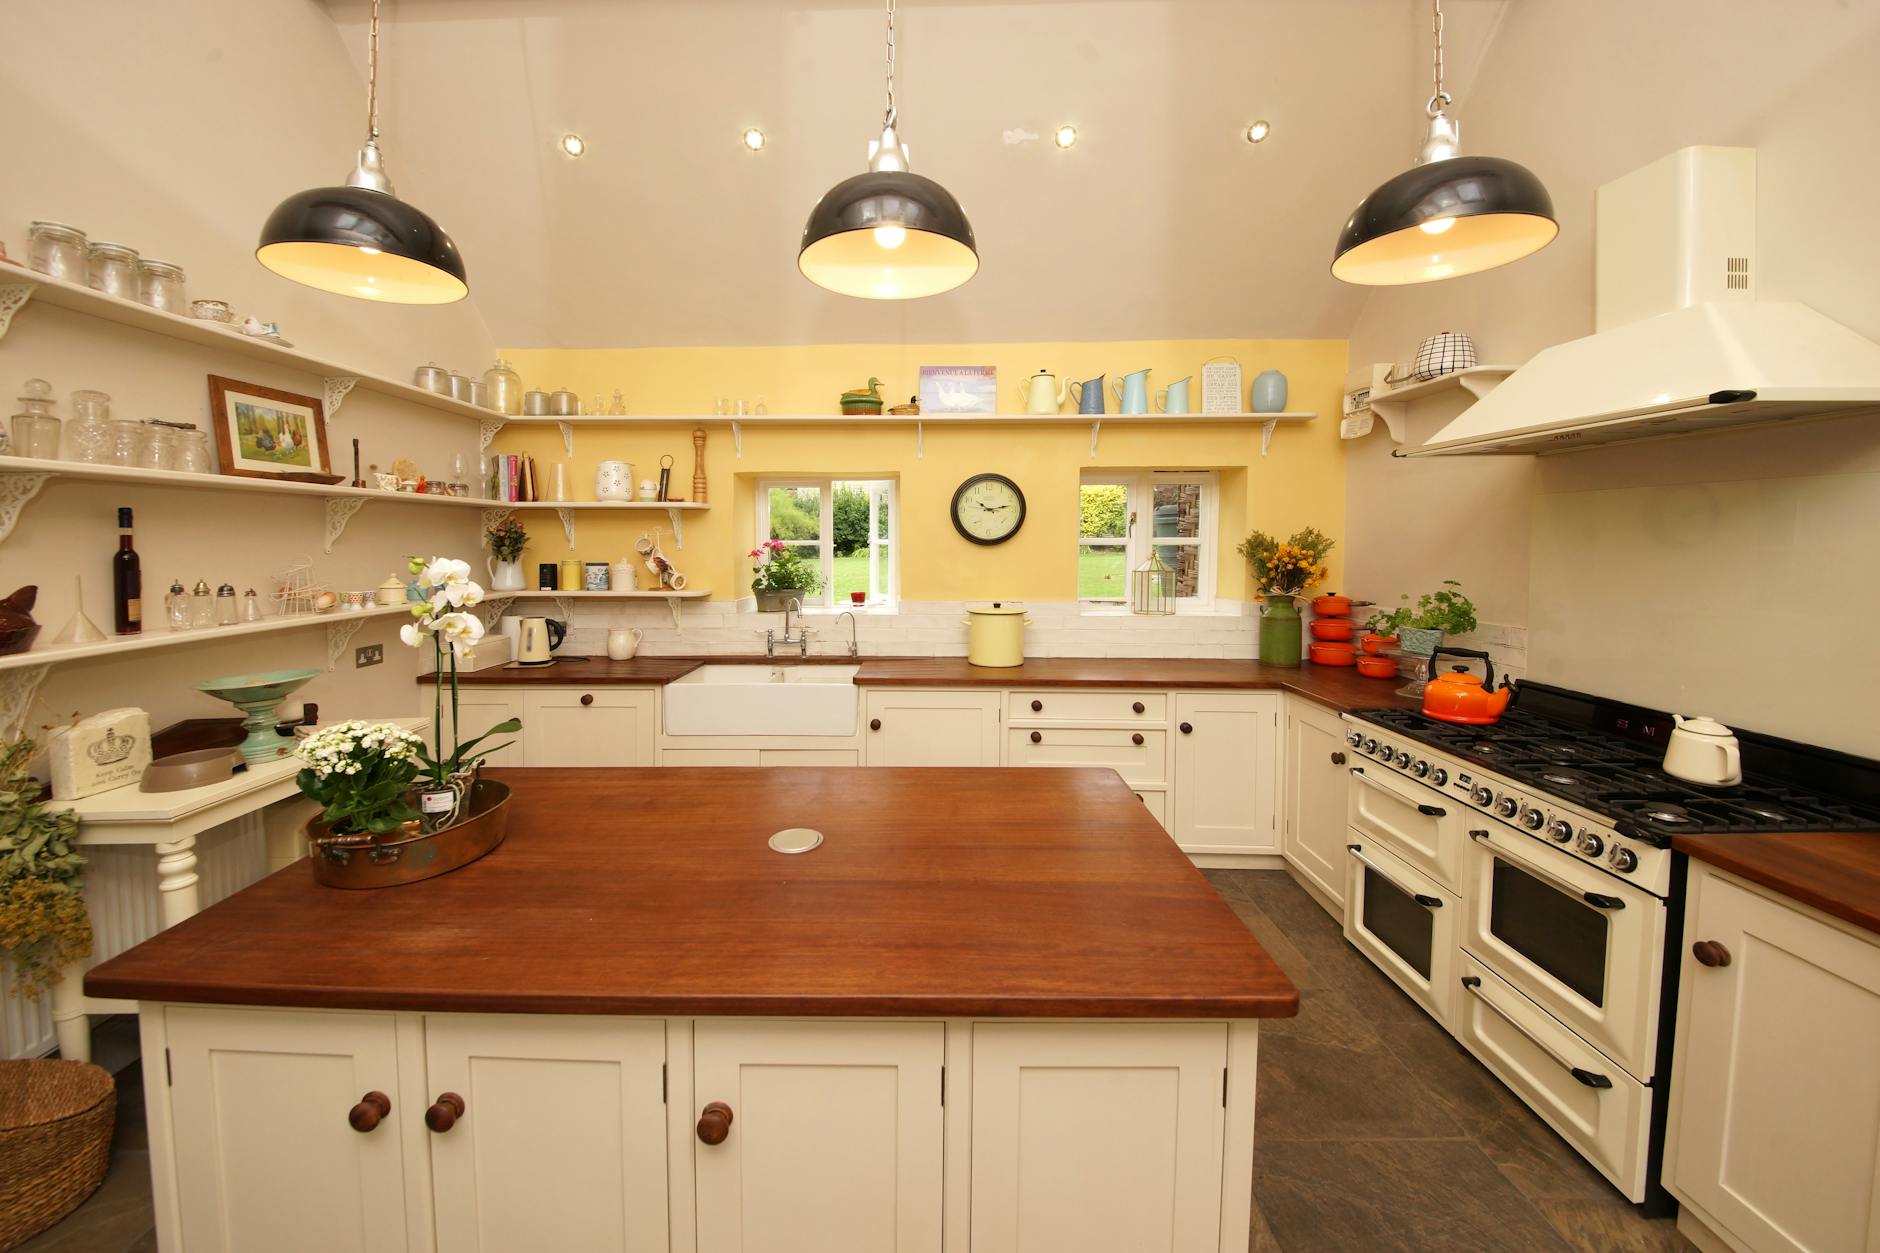
Step 4: Keep Your Countertops Clean (But Practical)
You don’t have to hide everything.
Choose 2–3 appliances max to keep out:
- Coffee maker
- Toaster
- Air fryer
Style them intentionally:
- Use trays to group items
- Match colors (black, white, stainless, neutral tones)
- Keep cords hidden
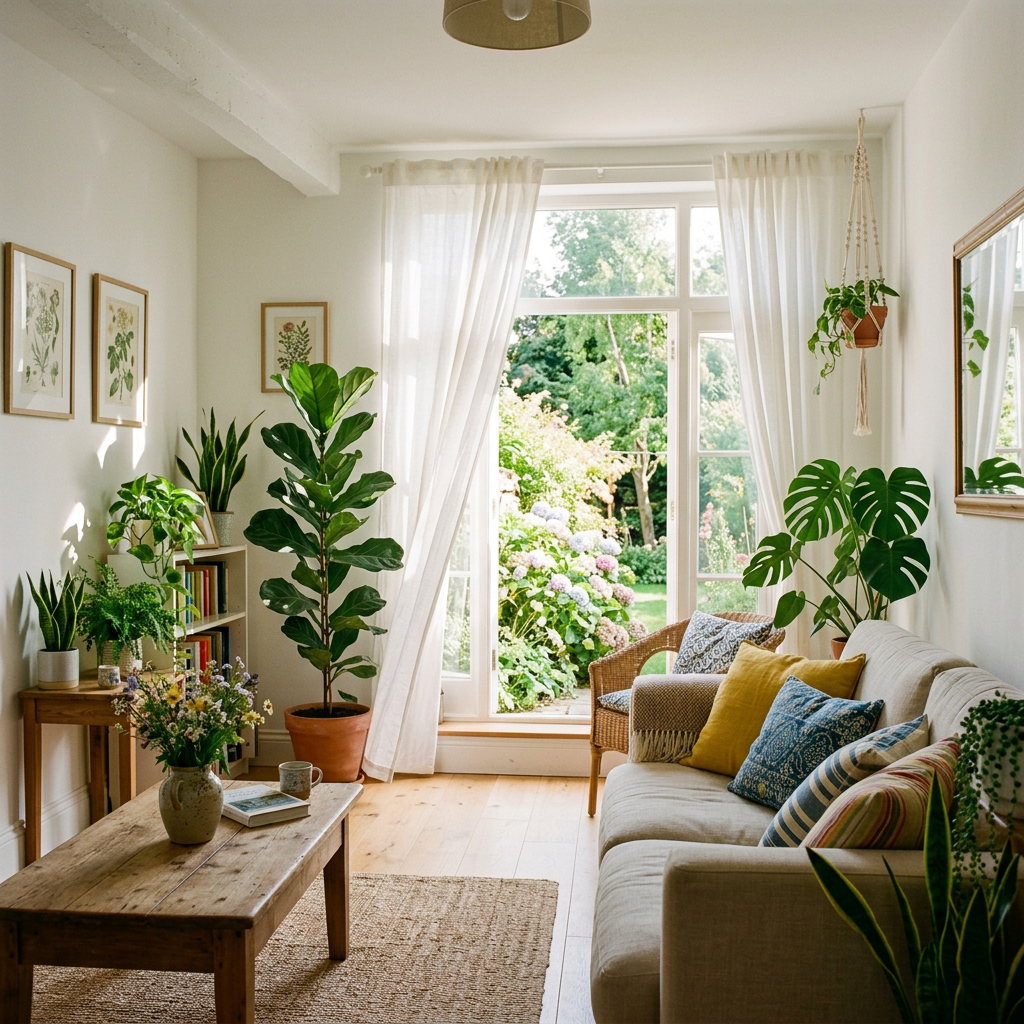
Your kitchen should feel curated, not cluttered.
Step 5: Small Kitchen? Here’s What to Do
If your space is limited:
- Choose multi-use appliances
- Use under-cabinet storage
- Add hooks for accessories
- Store rarely used items outside the kitchen (yes, really)
Real talk: Not everything needs to live in your kitchen.
A Quick Story You Might Relate To
I remember helping a friend reorganize her kitchen after she said, “I love my kitchen, but I hate being in it.”
We opened one cabinet… and three appliances fell out.
She had:
- Two blenders
- An air fryer
- A waffle maker
- A bread machine she hadn’t used in years
We sorted everything, created zones, and gave every appliance a “home.”
A week later she told me:
“I didn’t realize how stressed my kitchen made me until it felt calm again.”
That’s the goal.
Final Thoughts: Your Kitchen Should Work For You
Kitchen appliances are meant to make life easier—not more overwhelming.
You don’t have to give them up…
You just have to give them a place.
When your kitchen is:
- Organized
- Functional
- Visually calm
You’ll actually enjoy being in it again.
Your Next Step
Take 20 minutes today and:
- Open one cabinet
- Remove everything
- Only put back what truly serves you
That’s how transformation starts—one small reset at a time.
Discover comfort. Discover purpose. Discover life.


Leave a comment