
Category: diy
-
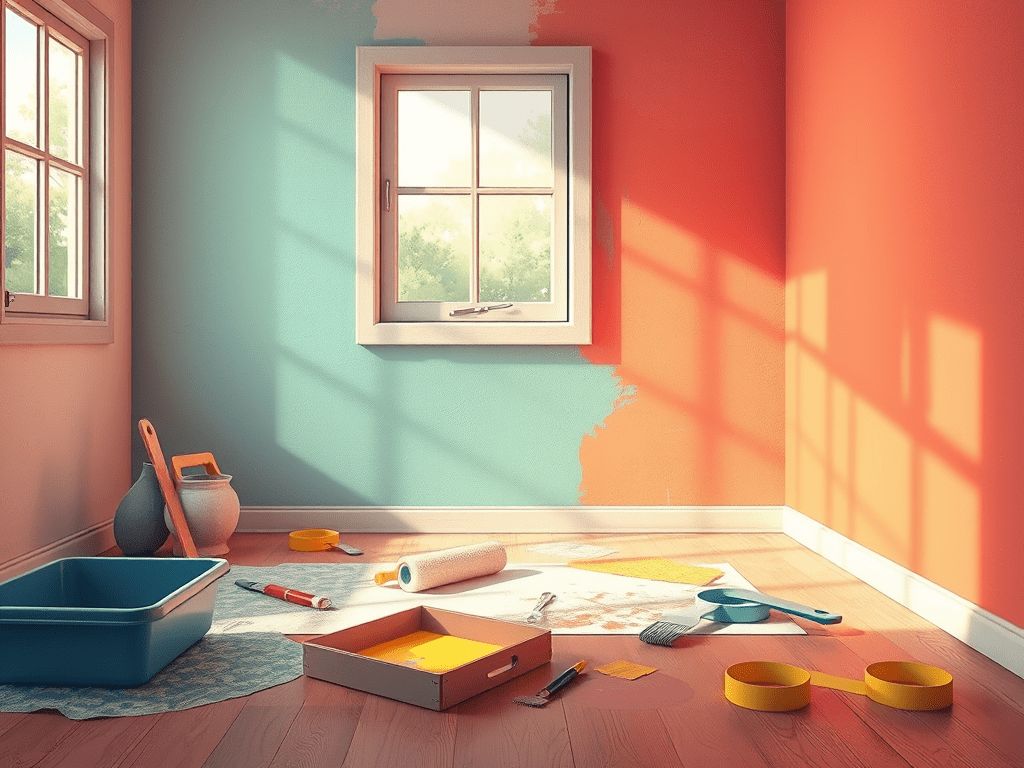
There’s something magical about a fresh coat of paint. It can instantly transform a room, shift the mood of your space, and make your home…
-
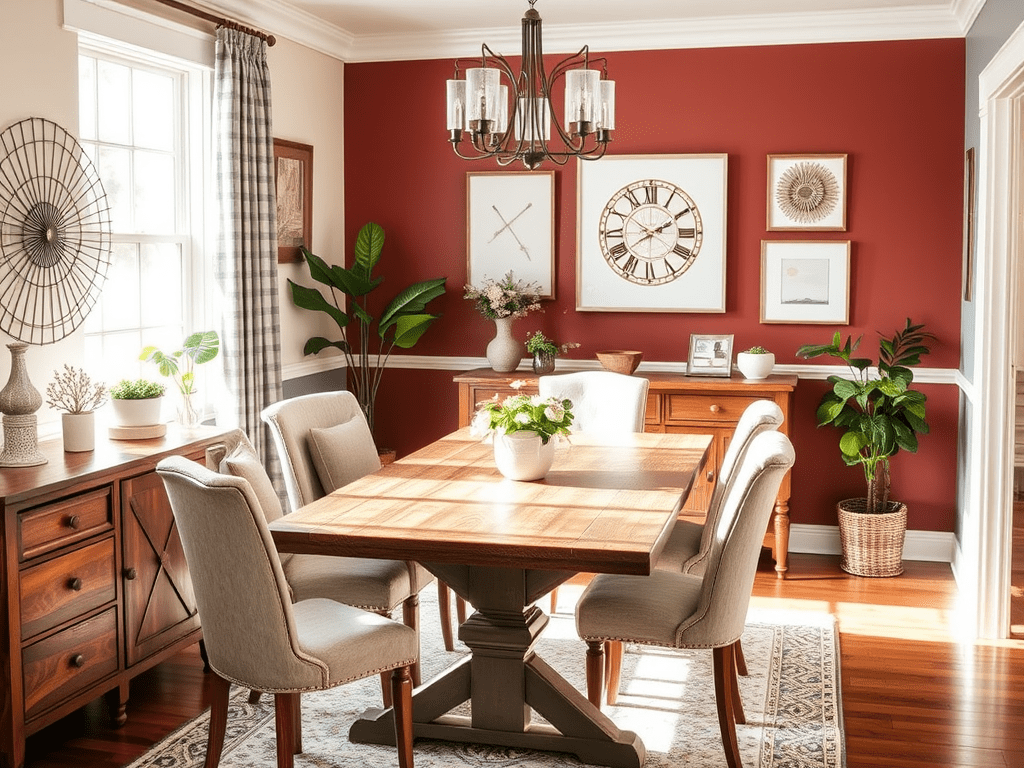
www.discoveringlifellc.com | Discover Your Style. Love Your Home. When it comes to home decorating, the dining room often gets overlooked. It’s easy to let it…
-
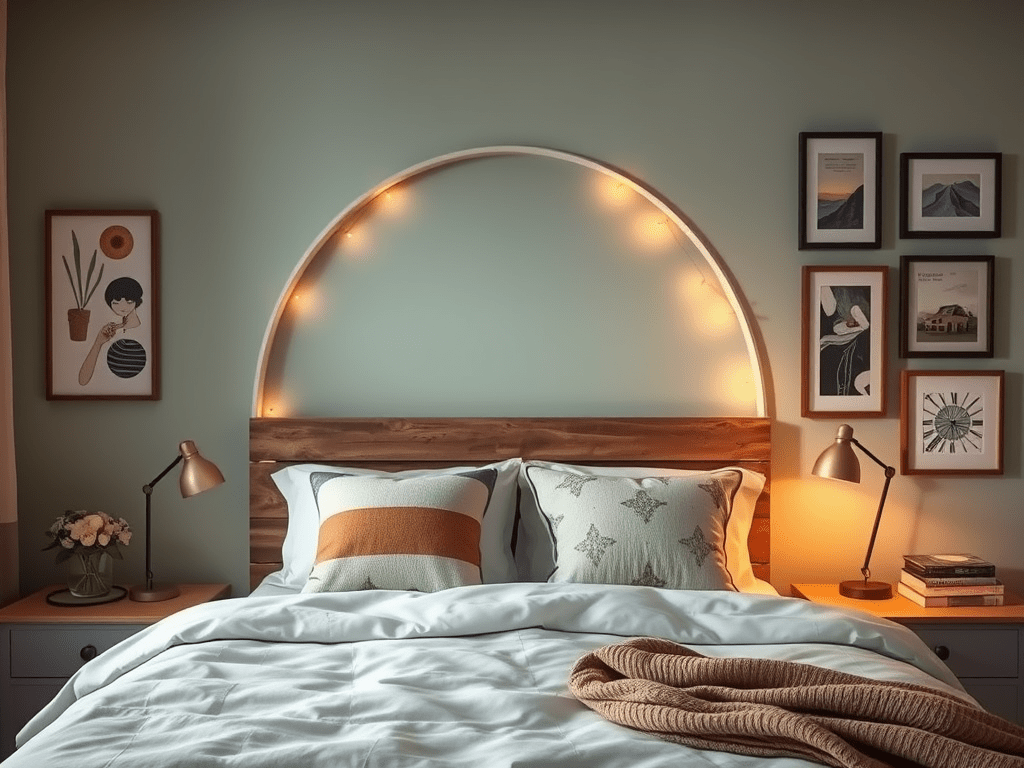
When your bedroom feels tired or uninspired, you don’t have to spend a fortune to breathe new life into it. Whether you’re renting, saving, or…
-
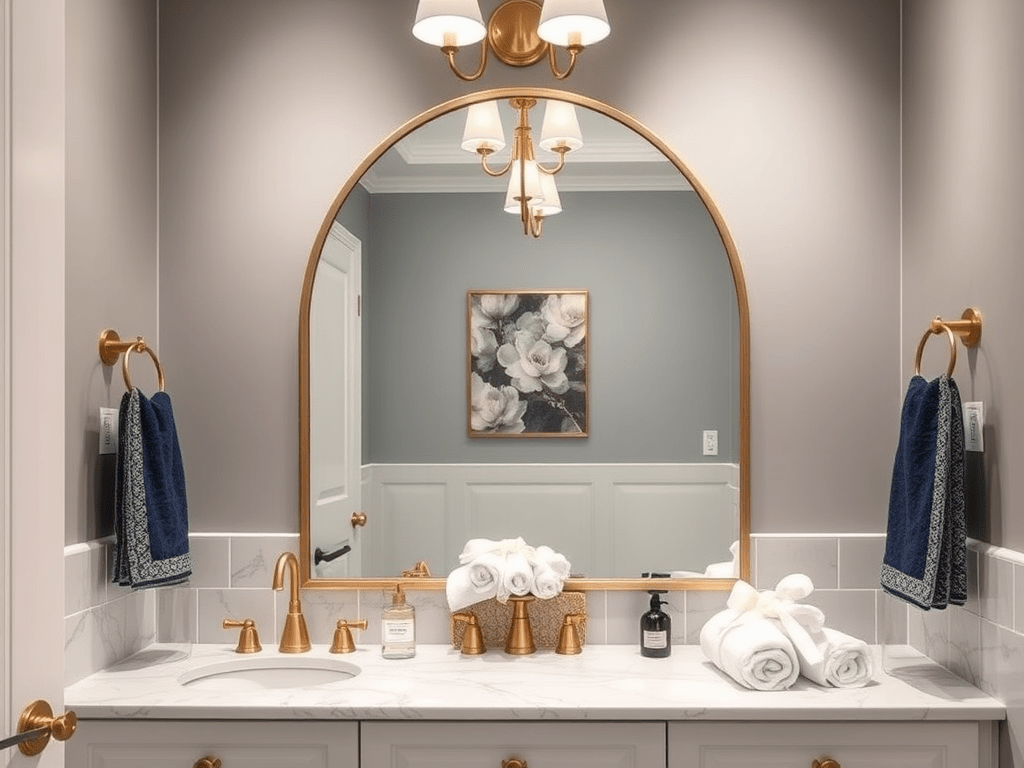
Have you ever scrolled through Pinterest or flipped through a home magazine and sighed at the luxury bathrooms with marble finishes, designer lighting, and gold-dipped…
-
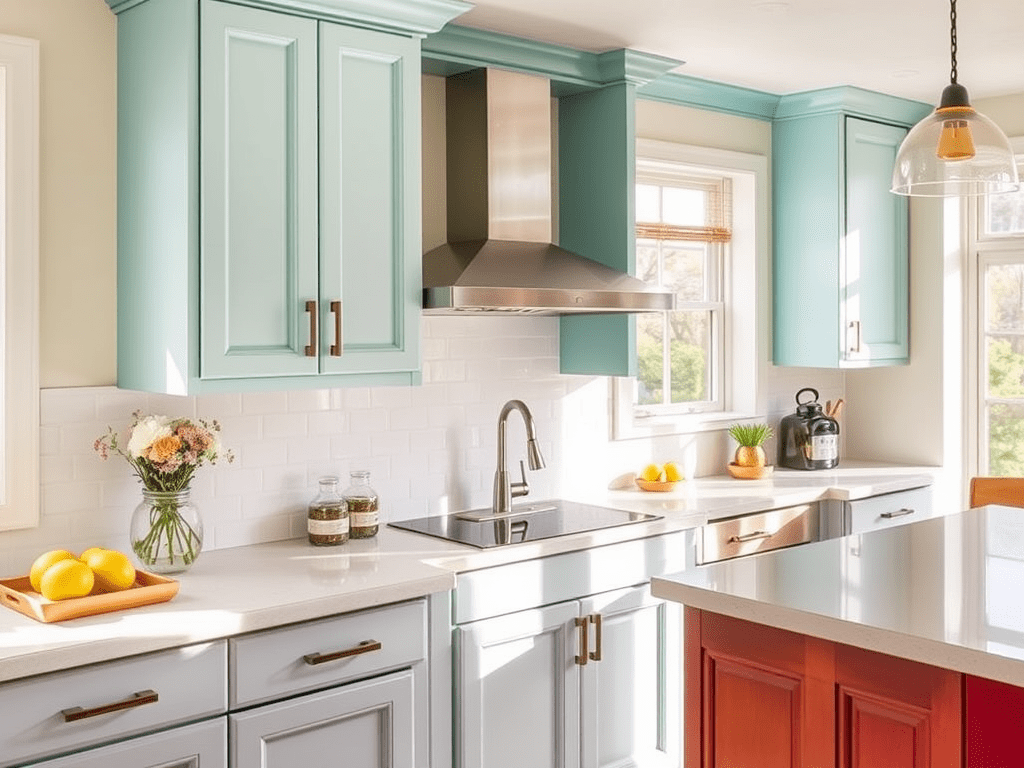
If your kitchen feels outdated but your bank account says “not right now,” don’t worry—you’re not alone. The good news? You can DIY your kitchen…
