
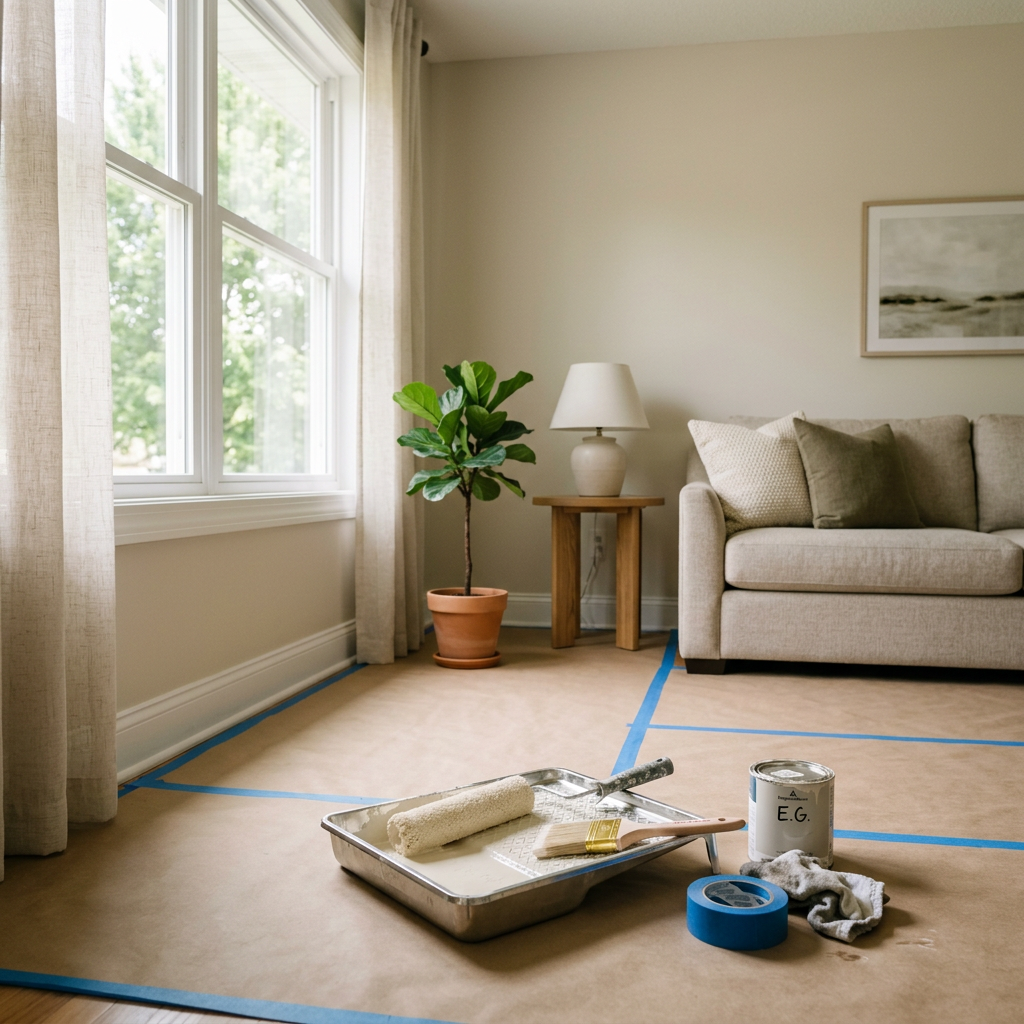
There is something incredibly satisfying about changing the look and feel of a room with paint. In this painting beginners guide, painting is one of the most affordable ways to transform a home. Whether you refresh a tired bedroom, update your living room, or tackle that accent wall, paint remains affordable.

If you have never painted a room before, the process can feel intimidating. Additionally, this is part of a painting beginners guide about how much paint you need. Next, what type of paint should you buy? Do you need primer? Then, what kind of roller should you use? Finally, where do you even start?

Fortunately, you do not need to be a professional painter to get professional-looking results in painting beginners guide. Preparation, supplies, paint, and technique set the stage for a first-time painter to transform a room. Additionally, this painting beginners guide offers a practical approach for completing the project confidently.
This beginner’s guide will walk you through the entire process—from choosing your paint color to preparing your walls, applying the paint, avoiding common mistakes, and cleaning up when you are finished.
Before You Pick Up a Paintbrush: Make a Plan
One of the biggest mistakes beginners make is buying paint and immediately opening the can.
Before you start painting, take some time to think about the room.
Consider:
- What is the purpose of the room?
- How much natural light does it receive?
- What color are your floors?
- What furniture is staying?
- Are there existing accent colors you want to keep?
- Do you want the room to feel larger, warmer, brighter, cozier, or more dramatic?
- Are you painting all four walls or creating an accent wall?
Paint should work with the room rather than compete with everything else inside it.
For example, a small room with limited natural light may benefit from lighter colors, while a large room with plenty of sunlight can often handle deeper or more dramatic shades.
Step 1: Choose the Right Paint Color
Choosing a paint color can be one of the hardest parts of the entire project. A color that looks beautiful on a tiny paint chip may look completely different once it covers an entire wall. Lighting plays a major role in how paint appears.
Natural daylight can make colors appear different from how they look under warm or cool artificial lighting. Your flooring, furniture, curtains, and even nearby walls can also influence how a color appears.
Always Test Your Color
Before purchasing several gallons of paint, test your color.
Paint a small section of the wall or use large sample boards and place them around the room.
Look at the color:
- In the morning
- During the afternoon
- At night
- With the lights on
- With the lights off
Live with the color for a day or two if possible.
This simple step can prevent an expensive mistake.
Step 2: Understand Paint Finishes
Choosing a color is only half of the decision. You also need to choose a paint finish. Different finishes have different levels of sheen and durability.
Flat or Matte
Flat and matte paints have very little shine and can provide a sophisticated, smooth appearance.
They are often used on:
- Bedrooms
- Dining rooms
- Ceilings
- Low-traffic areas
The downside is that they can be more difficult to clean than higher-sheen finishes.
Eggshell
Eggshell provides a subtle amount of sheen without looking overly glossy.
It is a popular choice for:
- Living rooms
- Bedrooms
- Hallways
- Dining rooms
For many homeowners, eggshell is a great all-around wall finish.
Satin
Satin has more sheen than eggshell and is generally easier to clean.
It can work well in:
- Kitchens
- Bathrooms
- Hallways
- Family rooms
- Children’s rooms
Semi-Gloss
Semi-gloss is more reflective and durable.
It is commonly used for:
- Trim
- Doors
- Cabinets
- Bathrooms
- Areas exposed to moisture
High-Gloss
High-gloss paint provides the most shine and is highly reflective. It can create a dramatic look but also highlights imperfections in the surface. For a first-time painter, high-gloss paint can be less forgiving.
Step 3: Determine How Much Paint You Need
Buying too little paint can leave you running back to the store in the middle of your project. Buying too much means spending money on paint you may never use.
A paint calculator can help estimate how much you need based on the size of the room, but always check the coverage information on the specific paint can because coverage varies between products.
Remember that doors, windows, and other areas that will not be painted reduce the total wall area. If you are painting over a dramatically different color, you may also need additional coats.

Step 4: Gather Your Painting Supplies
You do not need every tool in the paint aisle.
For a basic room-painting project, start with:
- Interior wall paint
- Paint roller
- Roller frame
- Paint tray
- Angled paintbrush
- Painter’s tape
- Drop cloths
- Paint can opener
- Stir sticks
- Sandpaper or sanding sponge
- Spackle or wall filler
- Putty knife
- Clean rags
- Small bucket
- Extension pole for taller walls
- Ladder or step stool
- Primer, if needed
- Protective gloves
Quality tools can make a noticeable difference in the finished result. A cheap brush that sheds bristles or a poor-quality roller that leaves lint behind can turn a simple painting project into a frustrating experience.
Step 5: Prepare the Room
This is where the real work begins. And while preparation may not be the most exciting part of painting, it is arguably one of the most important.Move as much furniture out of the room as possible. For furniture that cannot be removed, move it toward the center of the room and cover it securely.
Remove:
- Wall decorations
- Outlet covers
- Switch plates
- Curtain hardware when necessary
- Wall-mounted shelves when possible
Place drop cloths over the floor.
Do not assume that you can simply wipe up paint later. Protecting your floors is much easier than removing dried paint.
Step 6: Clean the Walls
Paint adheres best to a clean surface. Dust, dirt, grease, smoke residue, and grime can interfere with paint adhesion.
Give your walls a good cleaning, particularly in:
- Kitchens
- Bathrooms
- Entryways
- High-traffic areas
Allow the walls to dry completely before continuing.
Step 7: Repair Wall Imperfections
Take a close look at your walls.
Do you see:
- Nail holes?
- Cracks?
- Dents?
- Small holes?
- Peeling paint?
- Uneven areas?
Repair them before painting.
Use an appropriate wall filler or spackling compound for small holes and dents. Once dry, sand the repaired area until it is smooth. The goal is to create a clean, even surface before applying your new color.
A Beginner’s Painting Rule
Paint does not hide everything.
In fact, certain paint finishes can make imperfections more noticeable. The smoother the wall, the better your finished paint job will look.
Step 8: Decide Whether You Need Primer
Primer is not always necessary, but there are situations where it can make a major difference.
You may want to use primer when:
- You are painting over a very dark color with a light color.
- The wall has stains.
- You are painting new drywall.
- The surface is uneven or porous.
- You are covering repaired areas.
- The existing surface has adhesion problems.
- You are making a significant color change.
Primer helps create a more uniform surface and can improve the appearance and performance of your finish coat. If you are painting a similar color over a clean, previously painted wall, your paint may not require a separate primer. Always follow the manufacturer’s recommendations for the specific product you are using.
Step 9: Tape Like a Professional
Painter’s tape can help create clean edges around:
- Baseboards
- Door frames
- Window frames
- Trim
- Cabinets
- Other surfaces you do not want painted
Apply the tape carefully and press down the edges.
Do not rush this step.
However, keep in mind that painter’s tape is a tool—not a substitute for good technique.
Even with tape, you should avoid intentionally flooding the edge with paint.

Step 10: Start With the Edges
This process is commonly called cutting in.
Using an angled brush, paint along the edges of the room.
Work around:
- Corners
- Ceilings
- Baseboards
- Windows
- Doors
- Other areas where a roller cannot easily reach
Try not to apply an extremely thick layer of paint around the edges.
The goal is to create a consistent transition between the brushed areas and the rolled areas.
Step 11: Learn How to Use a Paint Roller
For large wall surfaces, a roller is usually much faster and more consistent than a brush. Load the roller evenly with paint, but avoid soaking it to the point that it drips. Start near the top of the wall and work in manageable sections. Use overlapping strokes to maintain a consistent finish.
Many painters use a loose W or M pattern initially to distribute the paint, followed by more controlled passes to even everything out. Avoid pressing extremely hard on the roller. Let the roller do the work.
Keep a Wet Edge
One of the most important painting techniques is maintaining a wet edge. Try to work from one section into the next while the previous paint is still wet. This helps reduce visible lines and lap marks.
Step 12: Don’t Try to Get Perfect Coverage With One Coat
This is one of the biggest beginner mistakes. You may look at the wall after the first coat and think: “It looks uneven. I need to keep adding paint.” Stop. Allow the first coat to dry according to the manufacturer’s instructions. A second coat may provide the uniform coverage you are looking for. Trying to achieve full coverage by applying one extremely thick coat can lead to:
- Drips
- Uneven texture
- Longer drying times
- Visible brush or roller marks
Thin, consistent coats generally produce better results.
Step 13: Pay Attention to Drying and Recoat Times
Do not assume that paint is ready for another coat simply because it feels dry to the touch. Paint products have specific drying and recoat recommendations. Temperature, humidity, ventilation, and the surface being painted can all affect drying time.
Always check the label. And remember: Dry does not necessarily mean fully cured. Your freshly painted wall may feel dry while still being more vulnerable to scuffs and damage.
Step 14: Remove Painter’s Tape Carefully
Once your painting is finished, carefully remove the painter’s tape. Do not rip it away aggressively. Pull it back slowly at an angle. If paint has dried across the tape edge, gently score the edge with a utility knife before removing the tape to reduce the chance of pulling up the new paint.
Step 15: Inspect Your Work
Before you declare the project finished, step back and inspect the room.
Look at the walls from different angles.
Check for:
- Missed areas
- Drips
- Roller marks
- Uneven coverage
- Brush marks
- Paint on trim
- Paint on the floor
- Visible patches
Small imperfections are much easier to correct while the project is still fresh.
Common Painting Mistakes Beginners Should Avoid
1. Skipping Preparation
Painting directly over dirty or damaged walls can produce disappointing results.
2. Buying the Cheapest Tools
Poor-quality brushes and rollers can make painting harder than it needs to be.
3. Using Too Much Paint
More paint does not automatically mean better coverage.
4. Painting Without Testing the Color
The color on the sample card may not look the same in your room.
5. Rushing Between Coats
Allow sufficient drying and recoat time.
6. Ignoring the Ceiling
A beautiful new wall color can make an old, dingy ceiling much more noticeable.
7. Forgetting Ventilation
Proper ventilation can improve comfort while you work and help with drying. Follow the paint manufacturer’s safety instructions.
8. Painting in Poor Conditions
Extreme temperatures or excessive humidity can affect application and drying.
9. Not Keeping Enough Paint for Touch-Ups
If you have leftover paint, label the can with the room, color, finish, and date. Future you will be glad you did.
Should You Paint the Trim or Walls First?
There is more than one acceptable approach, but many DIY painters prefer painting the trim first, followed by the walls. Another approach is to paint the ceiling first, then trim, then walls. The important thing is to have a consistent plan and protect surfaces you have already finished.
If you are inexperienced, choose the sequence that gives you the greatest control.
What About Painting an Accent Wall?
An accent wall can completely change a room without requiring you to paint every wall.
Good candidates include:
- The wall behind a bed
- The wall behind a sofa
- A fireplace wall
- A dining room focal wall
- A wall behind a desk
- An architectural feature wall
When selecting an accent color, look at the colors already present in the room.
Pull inspiration from:
- Rugs
- Throw pillows
- Artwork
- Curtains
- Furniture
- Decorative accessories
An accent wall should feel intentional rather than random.
Painting Different Rooms
Not every room needs the same approach.
Living Room
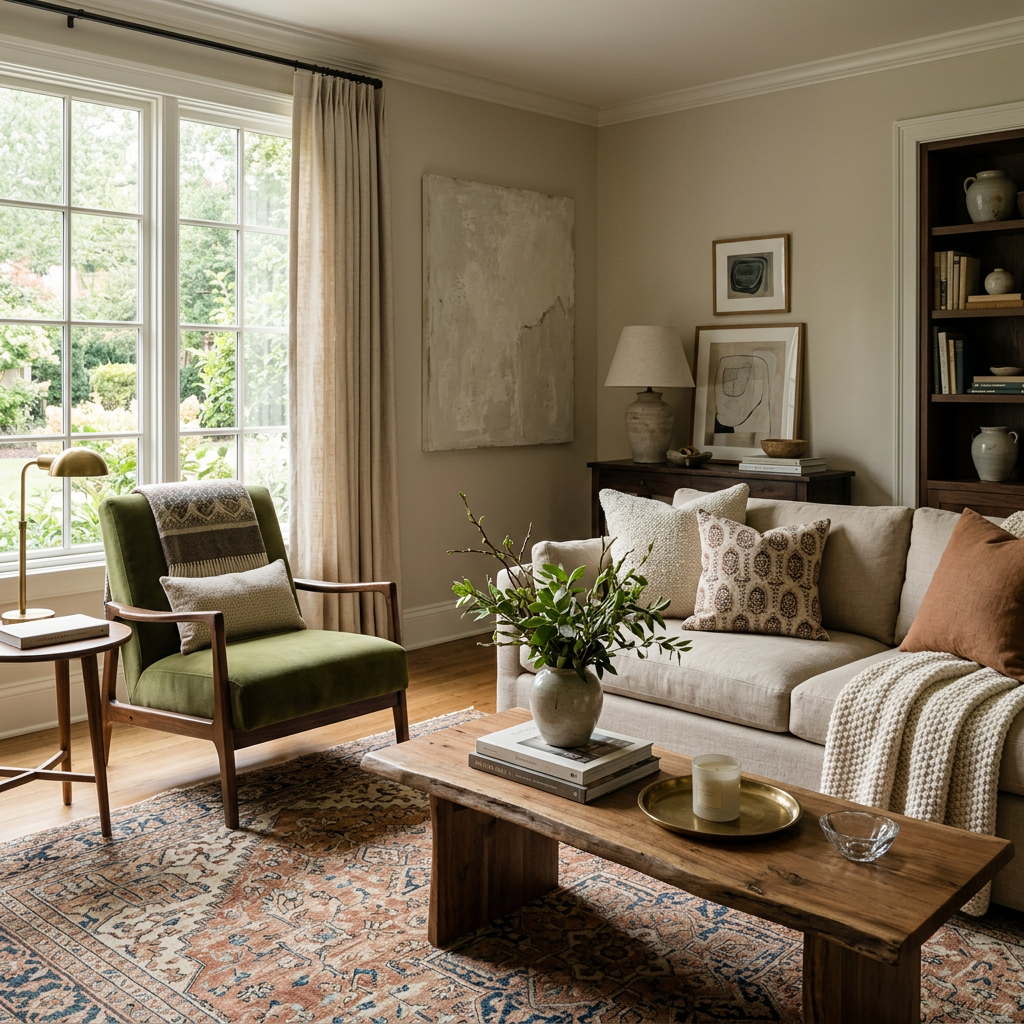
Your living room is an opportunity to establish the overall mood of your home.
Neutral colors such as warm white, beige, taupe, and soft gray can create a flexible foundation.
If you prefer more personality, consider a deeper accent wall.
Bedroom
Bedrooms generally benefit from colors that create a relaxing atmosphere.
Consider:
- Soft blues
- Muted greens
- Warm neutrals
- Dusty pinks
- Soft grays
- Rich, darker tones for a cozy look
Kitchen
Kitchen walls need to stand up to everyday activity.
Choose a durable, washable finish appropriate for your surface and the manufacturer’s recommendations.
Bathroom
Bathrooms require extra consideration because of moisture and humidity.
Choose products designed for interior spaces and follow the manufacturer’s recommendations regarding moisture resistance and ventilation.
How to Make a Small Room Look Bigger With Paint
Paint can influence how large or small a room feels. Lighter colors generally reflect more light and can make a space feel more open. You can also create visual continuity by keeping the walls, trim, and surrounding colors within a similar tonal family.
However, do not assume that every small room must be white. A darker color can make a small room feel dramatic, cozy, and intentional. Sometimes the goal is not to make a room appear larger. Sometimes the goal is to make it feel better.
How to Make a Large Room Feel Cozier
Large rooms can sometimes feel cold or empty.
Deeper wall colors can create a more intimate atmosphere.
Warm neutrals, earthy tones, muted greens, deep blues, and rich browns can all contribute to a cozy feeling.
You can also use paint to visually define different areas within a large open space.
Painting Is More Than Changing a Color
Painting is one of those home projects that can have a much bigger impact than its price tag suggests. A fresh coat of paint can make old furniture look new, highlight architectural features, create a focal point, brighten a dark room, or completely change the personality of your home.
And perhaps most importantly, painting gives you an opportunity to make your space feel like your space. You do not have to be an expert. Your first room may not be perfect. You may make a few mistakes. You may get paint somewhere you did not intend to. That is okay. Every DIY project teaches you something.
The more you paint, the more comfortable you become with choosing colors, preparing surfaces, cutting in edges, controlling a roller, and understanding what works in your home.
Your First Painting Project: A Simple Checklist
Before you begin, make sure you have:
☐ Chosen your paint color
☐ Tested the color in the room
☐ Selected the appropriate paint finish
☐ Calculated approximately how much paint you need
☐ Purchased quality brushes and rollers
☐ Purchased painter’s tape
☐ Purchased drop cloths
☐ Removed or protected furniture
☐ Removed wall decorations
☐ Cleaned the walls
☐ Repaired holes and imperfections
☐ Sanded repaired areas
☐ Determined whether primer is needed
☐ Protected floors and furniture
☐ Taped trim and other surfaces
☐ Cut in around the edges
☐ Applied the first coat
☐ Allowed adequate drying time
☐ Applied the second coat if needed
☐ Inspected the finished walls
☐ Carefully removed painter’s tape
☐ Cleaned your tools
☐ Saved leftover paint for future touch-ups

Final Thoughts
If you have been putting off painting because you are afraid you will mess it up, take a deep breath and start small. You do not have to begin with an entire house. As a start paint a bathroom. Try an accent wall. Refresh a bedroom. Start with a project where the stakes feel manageable. The secret to a successful paint job isn’t being a professional. It is preparation, patience, and paying attention to the details.
Once you see what a difference a fresh coat of paint can make, you may find yourself looking around your home and wondering: “What should I paint next?” And honestly, that might be the beginning of your DIY journey.


Deja un comentario