
If your space has been feeling a little… meh, you’re not alone. Sometimes all a room needs is one bold, intentional change to bring everything together—and that’s where accent walls come in.
The best part? You don’t need a full renovation, a huge budget, or professional skills. In fact, you can completely transform a room in just one weekend.
Let’s talk about 5 easy DIY accent walls you can actually finish—and love.

A Cute Weekend Story: When “Let’s Just Try It” Turned Into a Whole Vibe
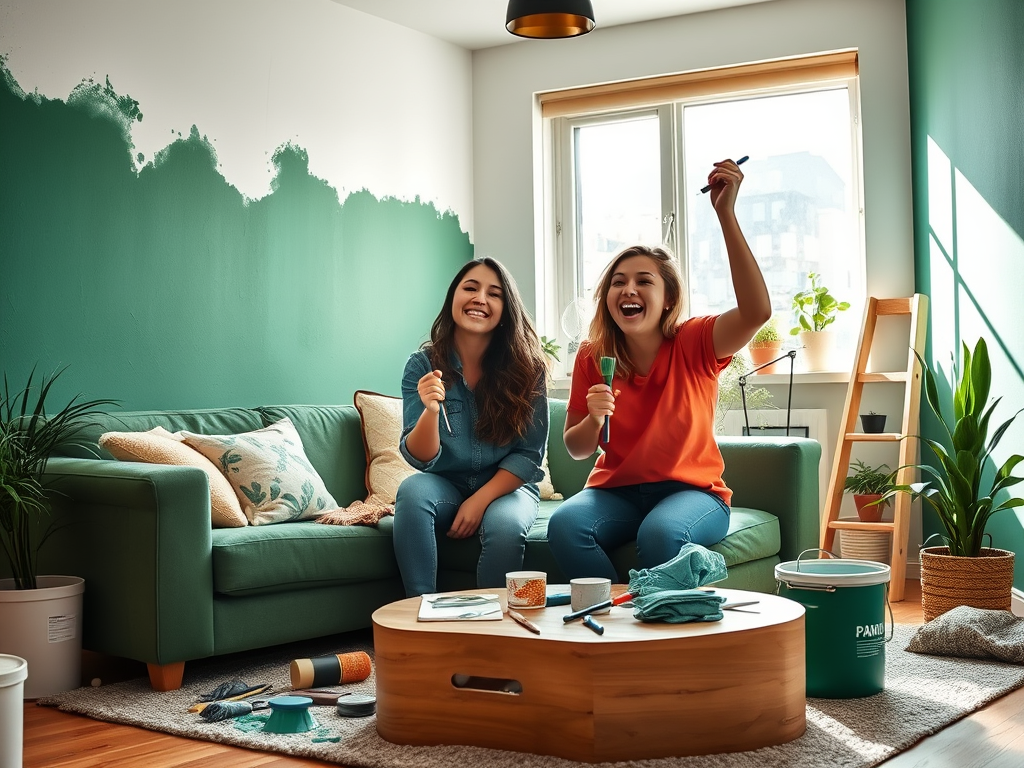
A couple of roommates, Jasmine and Kayla, had been living together for almost a year. Their apartment was clean, cozy… but honestly? A little boring.
One Friday night, while scrolling Pinterest and sipping iced coffee, Jasmine said:
“What if we just did an accent wall this weekend?”
Kayla laughed. “We’ve never done anything like that.”
But by Saturday morning? They were at the store buying paint, peel-and-stick wallpaper, and way too many “just in case” supplies.
What started as one accent wall turned into a full weekend transformation—music playing, paint on their hands, laughing at crooked lines, and stepping back Sunday night thinking:
“Wait… we actually did that.”
And that’s the beauty of DIY accent walls. They’re not just about the wall—they’re about creating a space that finally feels like you.
Why Accent Walls Are Still Trending in 2026
- They instantly create a focal point
- They’re budget-friendly compared to full room makeovers
- They let you experiment with style (without commitment overload)
- They work in any space—bedrooms, living rooms, bathrooms, even kitchens
1. Painted Accent Wall (The Classic Glow-Up)
Best for:
Beginners who want maximum impact with minimal effort
What You’ll Need:
- Paint (bold or neutral depending on your vibe)
- Painter’s tape
- Roller + brush
- Drop cloth
Weekend Process:
Day 1: Prep + Tape
- Choose your wall (usually behind a bed, couch, or desk)
- Clean the wall and tape off edges
- Lay down a drop cloth (trust me… do this)
Day 2: Paint + Reveal
- Apply 2 coats of paint
- Let dry between coats
- Remove tape slowly for clean lines
Style Tip:
Try trending colors like:
- Deep green (luxury calm)
- Warm terracotta (cozy + earthy)
- Matte black (modern + bold)
2. Peel-and-Stick Wallpaper (Zero Commitment, Big Style)
Best for:
Renters or commitment-phobes (no judgment here)
What You’ll Need:
- Peel-and-stick wallpaper
- Squeegee or smoothing tool
- Utility knife
Weekend Process:
Day 1: Measure + Align
- Measure your wall carefully
- Start from the top corner
- Slowly peel and stick while smoothing bubbles
Day 2: Trim + Perfect
- Trim edges
- Fix bubbles or misalignments
- Step back and admire your patience
Style Ideas:
- Floral for a soft feminine vibe
- Geometric for modern spaces
- Neutral textures (like faux linen or concrete)
3. Wood Slat Accent Wall (High-End Look on a Budget)
Best for:
Creating that Pinterest luxury aesthetic
What You’ll Need:
- Wood slats (pre-cut or DIY)
- Nail gun or adhesive
- Level
- Paint or stain
Weekend Process:
Day 1: Plan + Install
- Measure spacing evenly (this matters!)
- Attach slats vertically using adhesive or nails
Day 2: Paint or Stain
- Paint entire wall (including slats) for a seamless look
- Or stain for a natural wood finish
Style Tip:
This works beautifully behind:
- TVs
- Beds
- Entryways
It instantly gives that custom designer feel.

4. Geometric Painted Wall (Creative + Eye-Catching)
Best for:
Anyone who wants something unique and artsy
What You’ll Need:
- Multiple paint colors
- Painter’s tape
- Level
Weekend Process:
Day 1: Design + Tape
- Sketch your pattern first (triangles, arches, color blocks)
- Tape out your design carefully
Day 2: Paint + Reveal
- Paint each section
- Let dry
- Remove tape for that satisfying reveal moment
Style Tip:
Stick to 2–3 colors for a clean, elevated look.
5. Gallery Wall Accent (No Paint Required)
Best for:
Decor lovers who want flexibility
What You’ll Need:
- Frames or canvas prints
- Command strips or nails
- Layout plan
Weekend Process:
Day 1: Plan Layout
- Lay frames on the floor first
- Find a balanced arrangement
Day 2: Hang + Adjust
- Hang pieces starting from the center
- Adjust spacing as needed
Style Ideas:
- Mix motivational quotes + art (perfect for your brand 👀)
- Black-and-white photos for a timeless look
- Neutral frames for a clean aesthetic
Budget Breakdown (Realistic + Affordable)
You can complete most of these for:
- Paint Wall: $30–$80
- Wallpaper: $50–$150
- Wood Slats: $100–$250
- Geometric Wall: $40–$100
- Gallery Wall: $50–$200
Mistakes to Avoid (Learn from Jasmine & Kayla)
- Not measuring first
- Skipping wall prep
- Rushing the drying process
- Choosing too many colors
- Forgetting to step back and check alignment

Final Thoughts: Your Home Should Feel Like You
By Sunday night, Jasmine and Kayla didn’t just have a new wall—they had a space that felt alive, intentional, and completely theirs.
That’s what an accent wall does.
It’s not about perfection.
It’s about expression.
So if you’ve been waiting for a sign to start?
This is it.
Bonus: Want to Take It a Step Further?
Pair your accent wall with:
- A cozy throw blanket
- Statement lighting
- One bold decor piece
And suddenly… your space doesn’t just look better—it feels better.


Leave a Reply