

A well-organized kitchen can completely change the way your home feels. When your cabinets are cluttered, cooking becomes stressful, finding items becomes frustrating, and your kitchen can quickly feel chaotic. But when your cabinets are organized, everything flows better. You know where everything is, your space feels calmer, and everyday tasks become easier.
The good news is that organizing your kitchen cabinets does not require a full renovation or expensive storage systems. With a little planning, a few affordable tools, and some simple habits, anyone can transform their cabinets into a clean, functional space.
Let’s walk through a step-by-step guide to organizing your kitchen cabinets, along with real-life examples and affordable hacks that actually work.
Step 1: Empty Everything First
Before organizing anything, you have to see what you are working with. Take everything out of your cabinets. Yes, everything.
This step may feel overwhelming, but it gives you a clear picture of what you have and what you actually use.
Imagine someone named Maya, who just moved into her first apartment. She opens her cabinets and finds mismatched containers, duplicate utensils, and spices she forgot she even had. By emptying everything out, she realizes she has four spatulas but only uses one.
This is where the first round of decisions happens.
Create three piles:
- Keep – items you use regularly
- Donate – items you rarely use but are still in good condition
- Discard – broken or unusable items
Removing excess items instantly creates more space.
Step 2: Group Similar Items Together
Once you decide what you are keeping, start grouping items by category.
Common cabinet categories include:
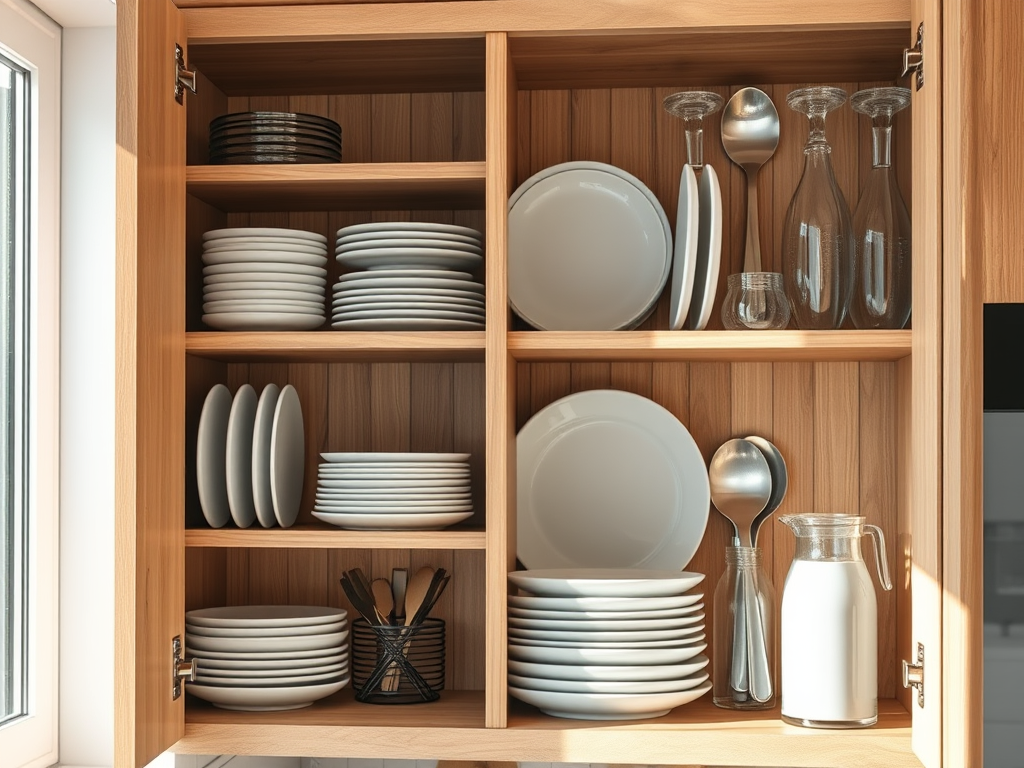
- Plates and bowls
- Drinking glasses and mugs
- Pots and pans
- Baking supplies
- Food storage containers
- Spices and cooking oils
- Snacks or pantry items
For example, Maya realizes her baking supplies are scattered across three cabinets. She gathers the flour, sugar, measuring cups, and baking pans into one section. Now when she wants to bake cookies, everything is in one place.
Grouping items together helps your brain remember where things belong.
Step 3: Assign Each Cabinet a Purpose
Every cabinet should have a job.
Instead of randomly placing items wherever they fit, decide what each cabinet will store.
Here is a simple layout idea:
- Cabinet near the dishwasher: plates, bowls, and cups
- Cabinet near the stove: cooking utensils, oils, spices
- Lower cabinets: pots, pans, and heavy items
- Upper cabinets: lighter items like dishes or dry goods
Maya decides the cabinet above her coffee maker will hold mugs, coffee, and tea. Now her morning routine becomes quicker because everything she needs is in one spot.
Step 4: Use Affordable Organizing Tools
You do not need expensive custom organizers. Many simple and affordable products can make a huge difference.
Here are a few budget-friendly favorites:
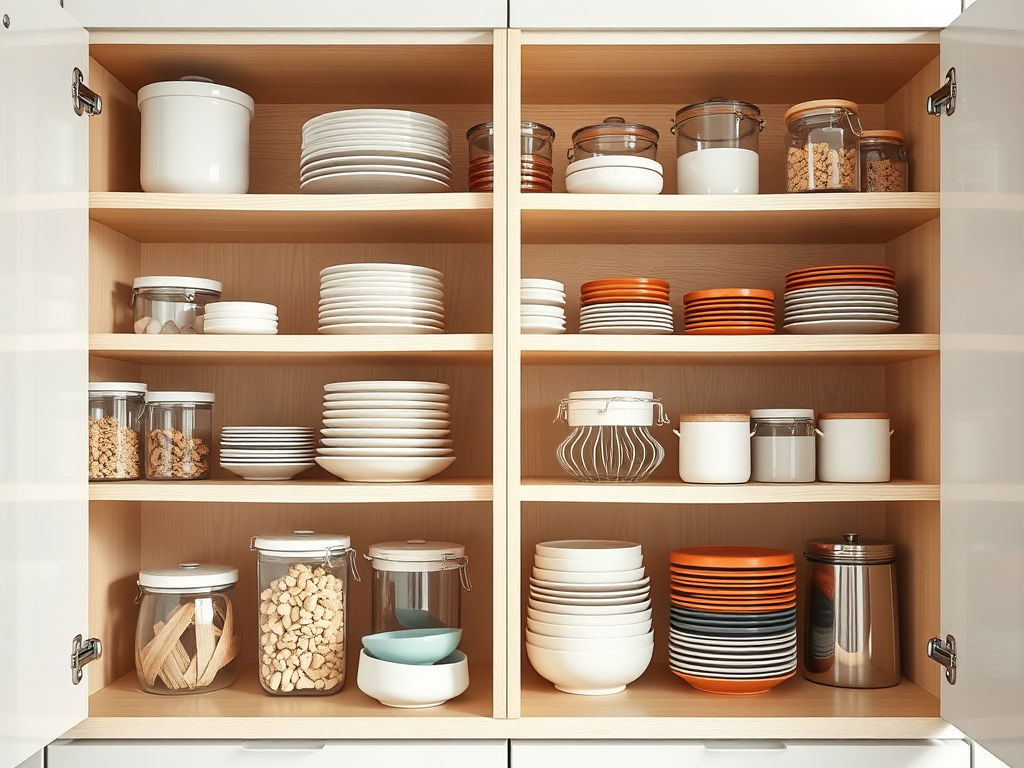
Shelf Risers
Shelf risers double your cabinet space by allowing you to stack dishes or pantry items vertically.
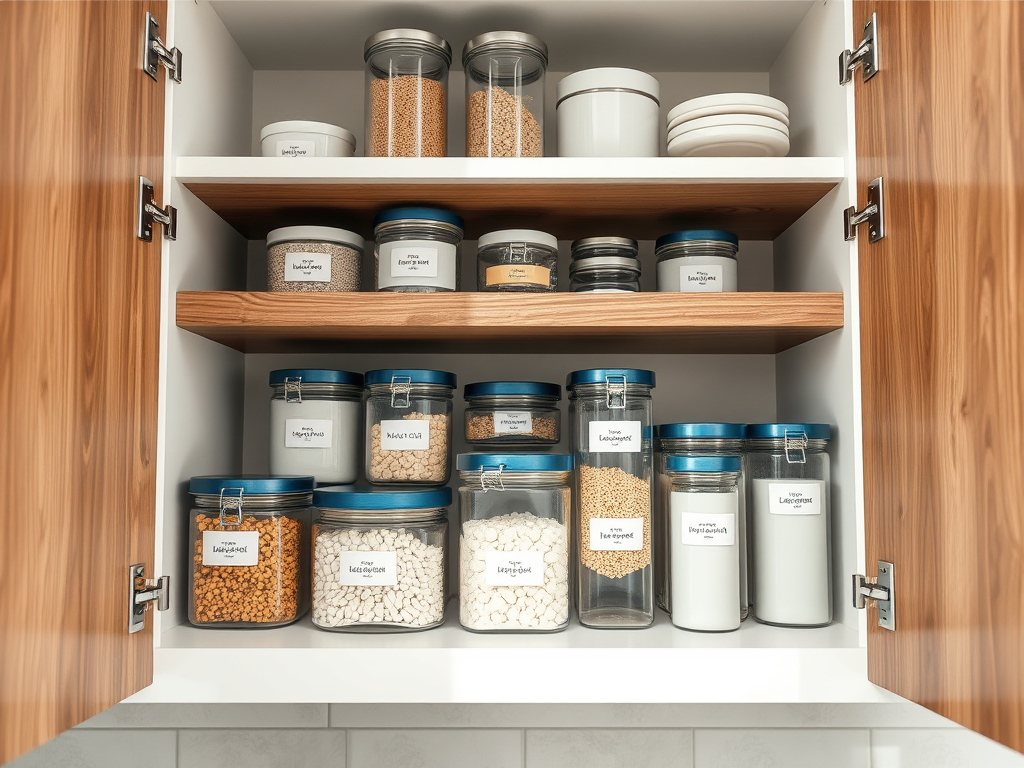
Clear Storage Bins
Bins keep similar items together and prevent cabinets from looking messy.
Lazy Susans
Perfect for spices, oils, or sauces. A simple spin allows you to reach items in the back of the cabinet.
Drawer Dividers
Great for organizing utensils or cooking tools.
Stackable Containers
These are especially useful for food storage containers and dry ingredients.
When Maya organized her spice cabinet, she used a $10 lazy Susan. Suddenly, she could see every spice instead of digging through rows of jars.
Sometimes the simplest tools make the biggest difference.
Step 5: Store Items Based on Frequency of Use
One of the biggest organizing mistakes people make is storing everyday items in hard-to-reach places.
Think about how often you use each item.
Keep daily items at eye level.
Examples include:
- Plates
- Coffee mugs
- Cooking oils
- Favorite pans
Items you use occasionally, like holiday dishes or specialty baking tools, can go in higher or less accessible cabinets.
For example: Maya realized she had stored her most-used skillet in the very back of a lower cabinet. Every time she cooked, she had to move three pots just to reach it. By moving the skillet to the front, cooking instantly became easier.
Small changes like this make your kitchen feel more functional.
Step 6: Use Simple Labeling
Labeling may sound unnecessary, but it can be incredibly helpful, especially in shared homes.
Labels work well for:
- Snack bins
- Baking supplies
- Food storage containers
- Kids’ snack sections
For example, Maya creates a small bin labeled “Snacks.” Now instead of rummaging through cabinets, her family knows exactly where to look.
Labels also help everyone maintain the system you created.
Step 7: Try These Clever Organization Hacks
Some of the best organizing tricks come from everyday creativity.
Here are a few affordable hacks many people love:
Use Magazine Holders for Cutting Boards
Stand cutting boards and baking sheets vertically inside a magazine holder.
Tension Rod for Cleaning Supplies
Place a small tension rod under the sink to hang spray bottles.
Command Hooks for Measuring Cups
Attach hooks inside cabinet doors to hang measuring cups or spoons.
Dollar Store Bins for Snacks
Simple plastic bins keep snacks organized and prevent cabinets from becoming messy.
File Organizers for Pot Lids
Stand pot lids upright using a file organizer.
These hacks cost very little but create a big improvement in cabinet organization.
Step 8: Maintain Your System
Organization is not a one-time project. It is a habit. Once your cabinets are organized, try a quick reset every week.
Maya spends about five minutes each Sunday returning items to their proper places. This small routine prevents clutter from building up again.
When everything has a designated home, maintaining organization becomes much easier.
Final Thoughts
Organizing your kitchen cabinets is not about having a perfect kitchen. It is about creating a space that works for your daily life.
With a little decluttering, thoughtful placement, and a few affordable tools, your cabinets can become more functional than you ever imagined. Like Maya discovered in her small apartment kitchen, organization is not about how much space you have — it is about how you use it. And once everything has a place, cooking, cleaning, and enjoying your kitchen becomes a whole lot easier.

Leave a comment